Well Fibre

  • Home
  • Workbook
  • Services
  • Shop
  • Blog
  • About
  • Contact

Classic Button Up with a Twist

April 22, 2019 by Star White in Clothing Makes

Hello friends! After a Lenten sabbatical, I am back to sewing…and just in time for this lovely spring we’ve been having.

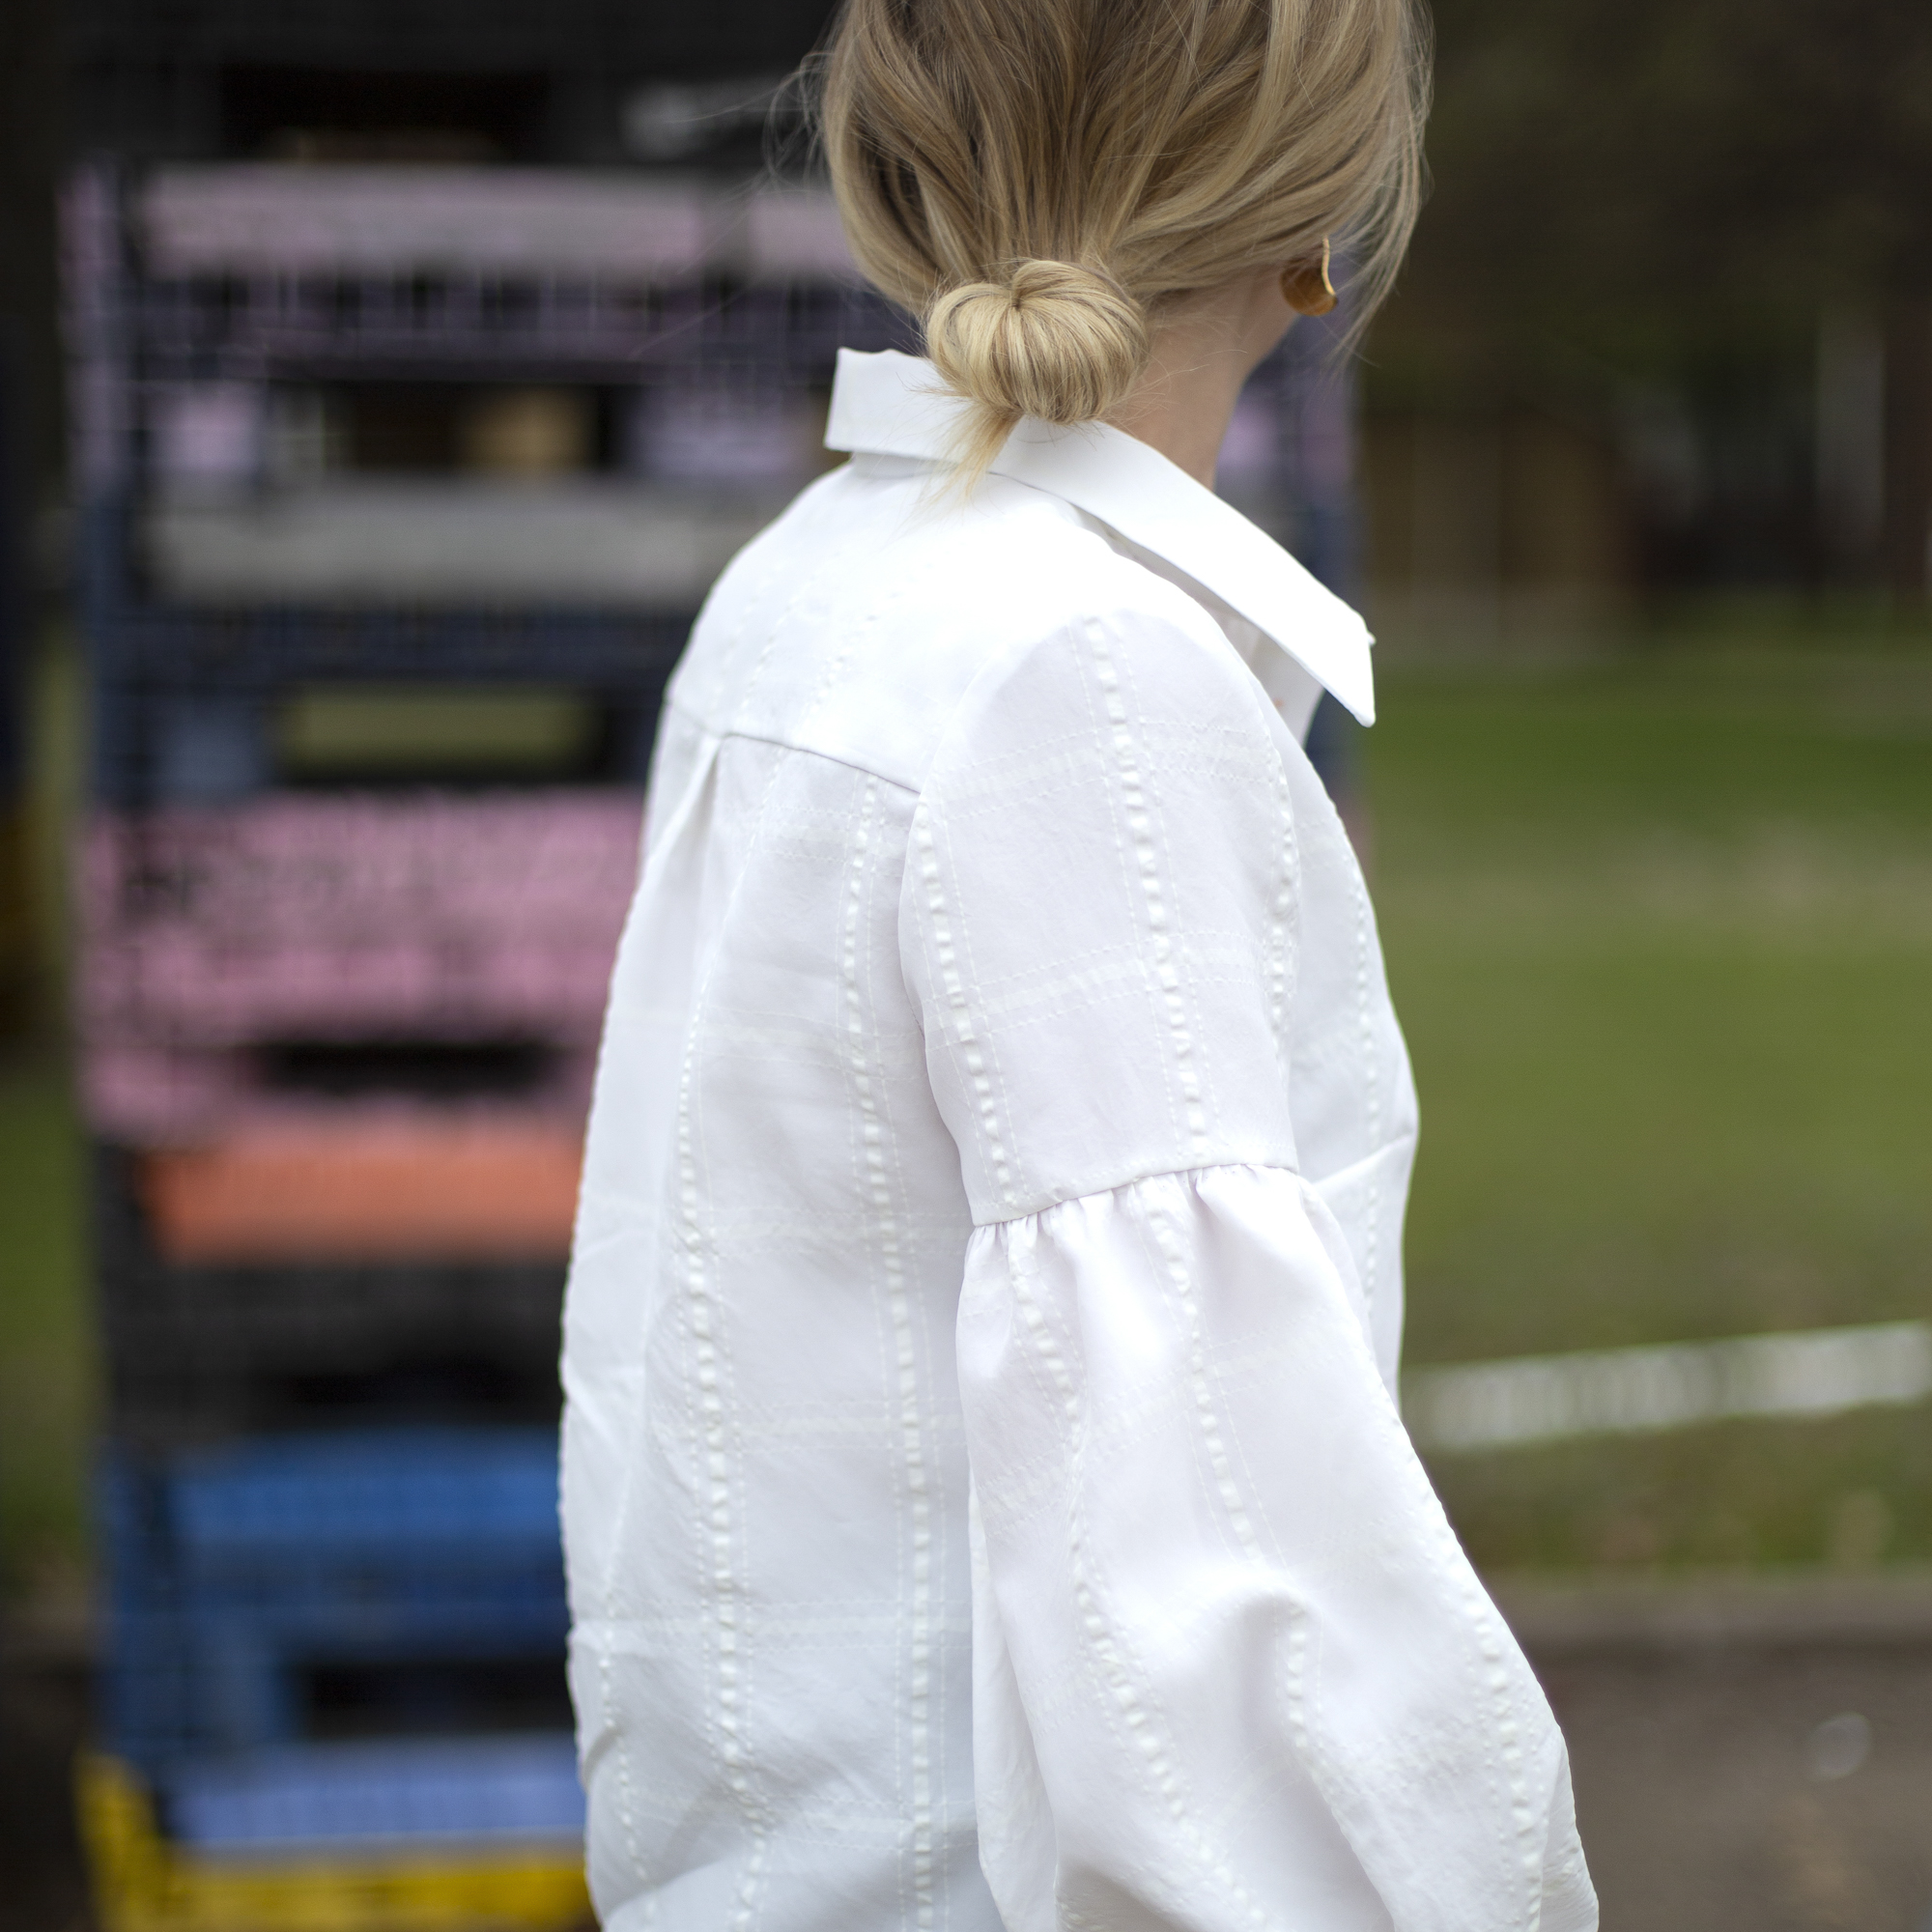
One of my very favorite wardrobe staples are my white button-up tops. Tie them up, tuck them in, wear them with jeans, wear them with a pencil skirt…gah…they are just so timeless and versatile. So when I saw the cover of the McCall’s M7838, my heart did a little leap. A classic button-up with a statement sleeve…I’m in!
I found this incredible grid fabric at Joann’s and *gasp* paid full price for it (something I never do!). But sometimes a fabric calls out to you in a way that demands your full attention and pocket-book. ;) I knew this fabric and pattern were a match made in sewing heaven.

The Pattern: McCall’s M7838
The Fabric: Rayon-poly blend by Joann’s (They’re ‘Spring Garden’ collection)
The Process: This was my first time EVER making a collared top and doing a full button placket. It was a bit of a risk since I had invested in the fabric, but I’m so glad I went for it! I was also hesitant b/c the fabric has a subtle wavy pattern in the grid lines and I wasn’t sure how it would work with interfacing, but the fabric was dreamy to work with and washes well to boot!
Normally I crank out my projects pretty quickly, but with this top I really took my time. I focused heavily on making sure the ruffles were spaced evenly, the grid was perfectly vertical, and I even re-attached the collar 3 times to get the spacing right and loose some annoying puckers. A LOT was learned along the way. :)
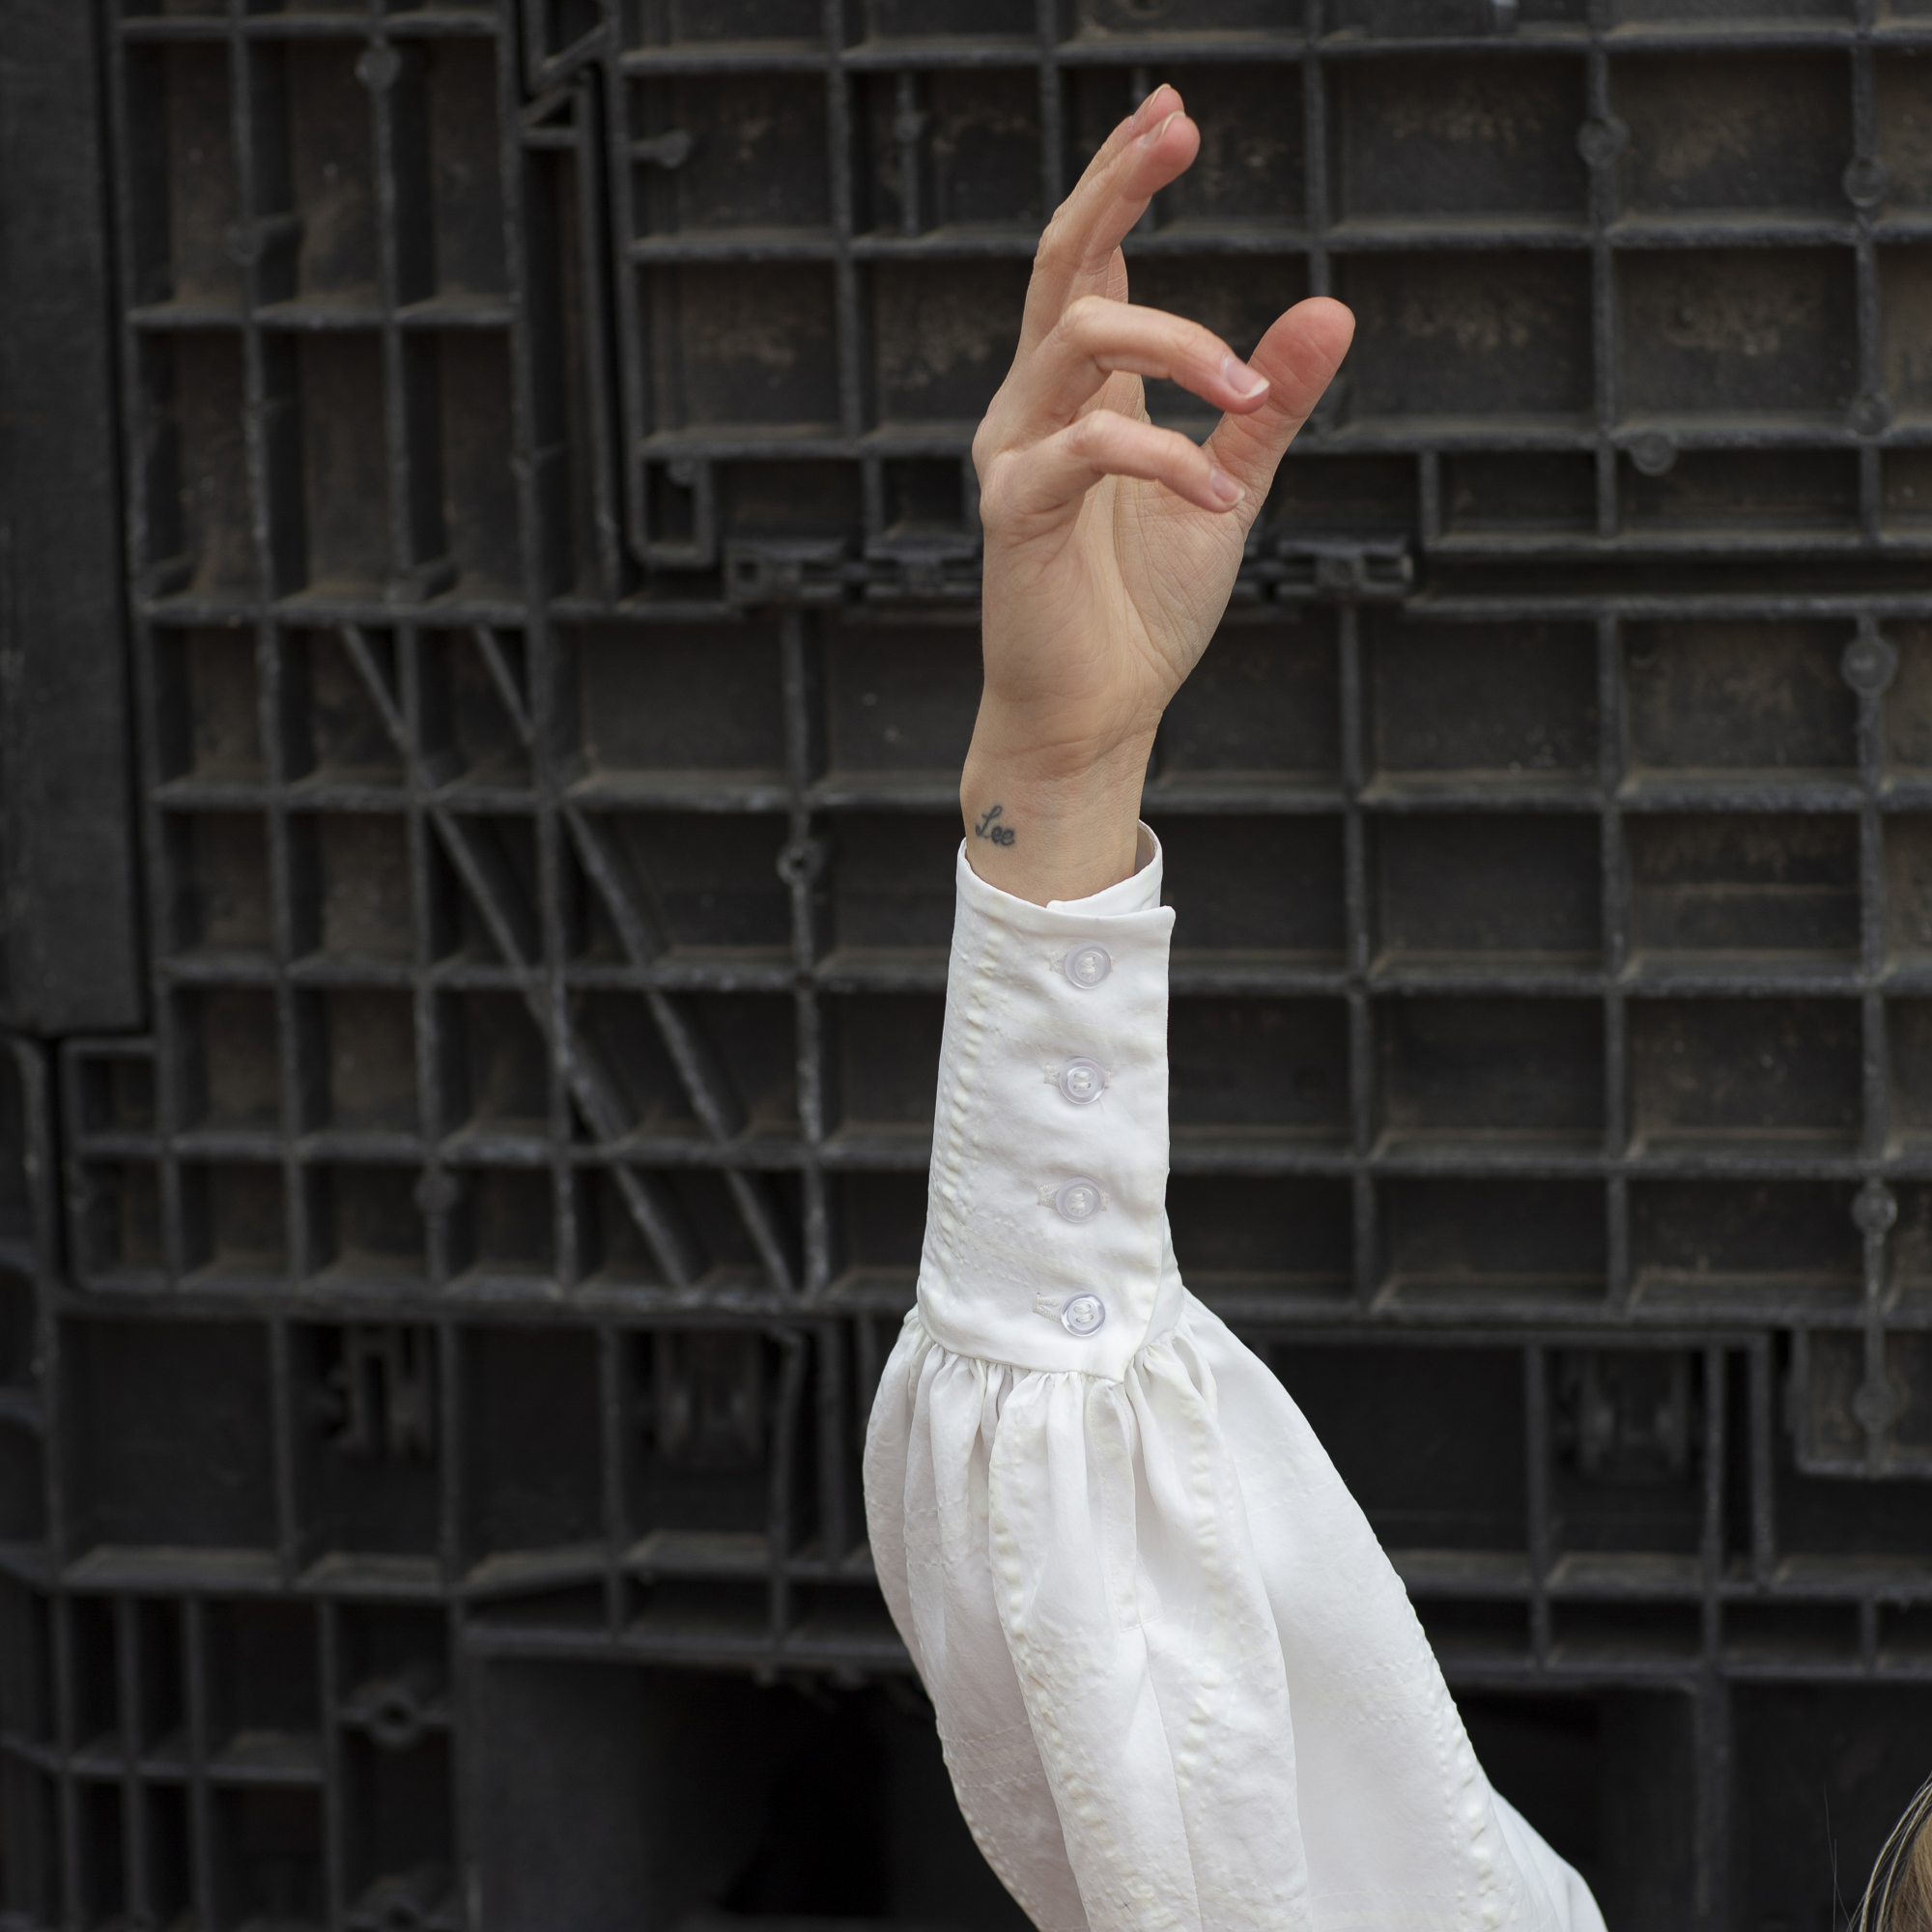
The top has 17 button holes and buttons. That’s right, SEVENTEEN! So I utilized my new Singer Quantum Stylists to it’s fullest potential and enjoyed the button hole and button sewing feet. It went well and the finish looks so professional!
Modifications: I sewed a straight size 8 after making a quick muslin to ensure the shoulders weren’t too tight (after my duster had been a bit snug, I wasn’t taking any chances!). I followed the pattern instructions as closely as possible, but in hind site, my first full collar and button placket should have been with an indie-pattern. The instructions for this top are SPARSE, so I relied heavily on intuition which worked out OK, but some further hand-holding would have been appreciated. Indie designers tend to provide ample guidance and pictures for the more tricky bits…something I greatly appreciate!
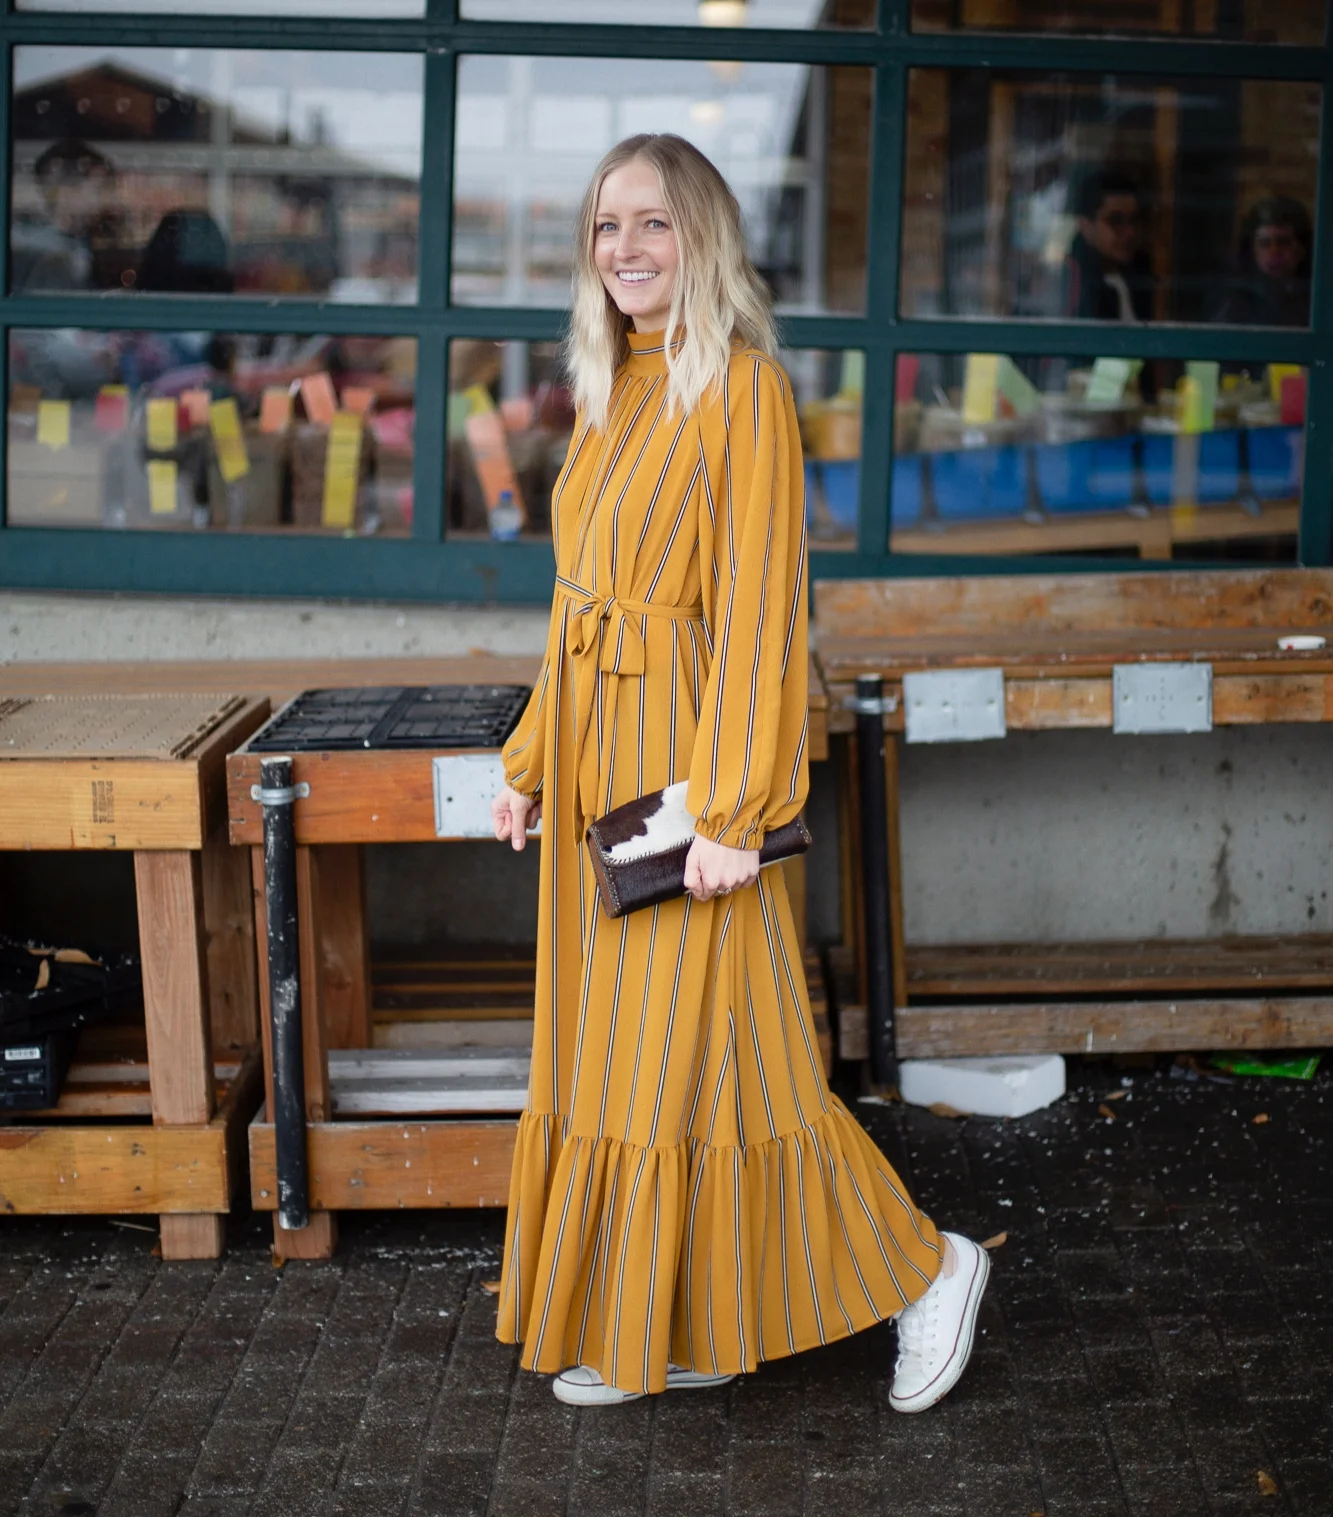
Styling & Versatility: Y’ALL. I love me a good white button up. I can’t wait to try layering this under something like the York Pinafore. Wouldn’t that be cute!? I think I may tuck it into a midi-skirt this spring as well as throw it on with my torn up Levi’s . White button ups are so timeless, I believe this will linger in my wardrobe for years to come!
Overall Review: Love the top! Don’t adore the sparse instructions. But, if you have experience with collars and packets…you will be fine!

Thank you to my lovely photographer, Jill, for these photos!

April 22, 2019 /Star White
mccalls, well fibre, white button up, sewing blog, sewing blogger, joann's fabric, spring fashion, spring 2019, spring 2019 style, diy, statement sleeve
Clothing Makes
2 Comments

Stylish Fabrics + Trend Patterns Raglan Dress Hack

February 12, 2019 by Star White in Clothing Makes

As soon as the new year rolls around I anxiously await the arrival of spring! Lighter layers, warmer days, green buds emerging from the ground. These things make my heart soar!

In honor of spring’s soon arrival, I decided to make a lighter-weight statement dress and experiment with a style I’ve been intrigued by for a while…prairie chic.

The Pattern: Trend Pattern Raglan Dress (TPC22)
The Fabric: Crepe chiffon c/o Stylish Fabrics
The Process: My idea for this dress was ‘go big or go home’. I had a vision in my head and it was either going to be GREAT or awful, no middle ground. Thankfully, I think it all worked out and I really love the outcome! The striped pattern of the crepe fabric helped modernize the prairie style. I sewed a straight size 8 (UK sizing) even though I was between the size 8 and 10. The style of the dress has so much ease I figured it would be better to size down so I wasn’t swimming in all the fabric. The directions for putting the pattern together were quite minimal to the point I think I would have struggled to make this as a beginner sewist. Thankfully it isn’t a super complicated pattern so I made it through just fine.
Sara from The Sara Project just happened to share a blog post with tips for working with rayon and crepe right as I was putting this dress together. It’s definitely worth a read and I found it very helpful with this make!
Modifications: I made 2 very doable changes to the original design of the dress. First, and most notably, I added a dramatic ruffle to the bottom. To do this I shortened the finished dress length to hit just below my knee. Then i measured (with the dress on) the length from the bottom of the unfinished dress to where I wanted the dress to hit at my feet. I then calculated seam and hem allowance and that gave me my length. For width, I simply used a 1:2 ratio, doubling the circumference of the dress to get the desired volume. Originally I was hoping to do a 1:3 ratio but didn't have enough fabric. In the end I’m thankful for the outcome bc I think the volume is just right and doesn’t feel too heavy. This is a modification that can easily be done with many dresses or tops to add length or a bit of flair!
The second addition I made was adding the waist tie. I wanted the dress to give me some kind of shape and this was just the ticket! I simply eyeballed the width and used the length of what fabric I had left for the sash.
Styling & Versatility: You could definitely say there is a lot going on with this dress. Between the back tie closure, deep keyhole, waist tie, neck ruching, high neck feature, AND the ruffle and the bottom…it’s a statement. But I’m glad I went big and had fun with it. This whole process stretched my vision-to-fruition muscle and I’m excited to keep trying such adventurous makes.
To keep the dress a little toned down, I style it with a classic pair of Converse sneakers, unstyled hair, minimal makeup, and minimal jewelry. In the future I will try a more ‘dressed up’ version, possibly with an updo and some strappy black heels.
Overal Review: Y’all, I had FUN with this one. Can you tell? :) Working with the crepe-chiffon (thank you Stylish Fabric) was a new experience so I walked away with new skills there. Hacking the Trend pattern was a leap for me so I walked away feeling more confident in my ability to cast a vision. And lets talk about the photos! My incredibly talented friend, Jill, shot this dress for me and I’m so please with how it all came out. You can see more of her styling and art direction via her Instagram page.

February 12, 2019 /Star White
spring 2019 style, ootd, statement dress, well fibre, spring fashion, sewing blogger, prairie chic
Clothing Makes
2 Comments