
Hampton Jean Jacket + Discount Code

Today I am honored to be the final blogger in a blog tour hosted by Alina of Alina Design Co. When Alina reached out to see if I would create a version of her Hampton Jean Jacket, several thoughts ran through my head:
'WOW! I'm so honored Alina would think of me!'
'Dang...a jean jacket. I don't think I'm advanced enough to do that.'
'If I say 'yes', could I make it in a way that is in line with my passion for second hand textiles?'
'Shoot...I'm just going for it!'
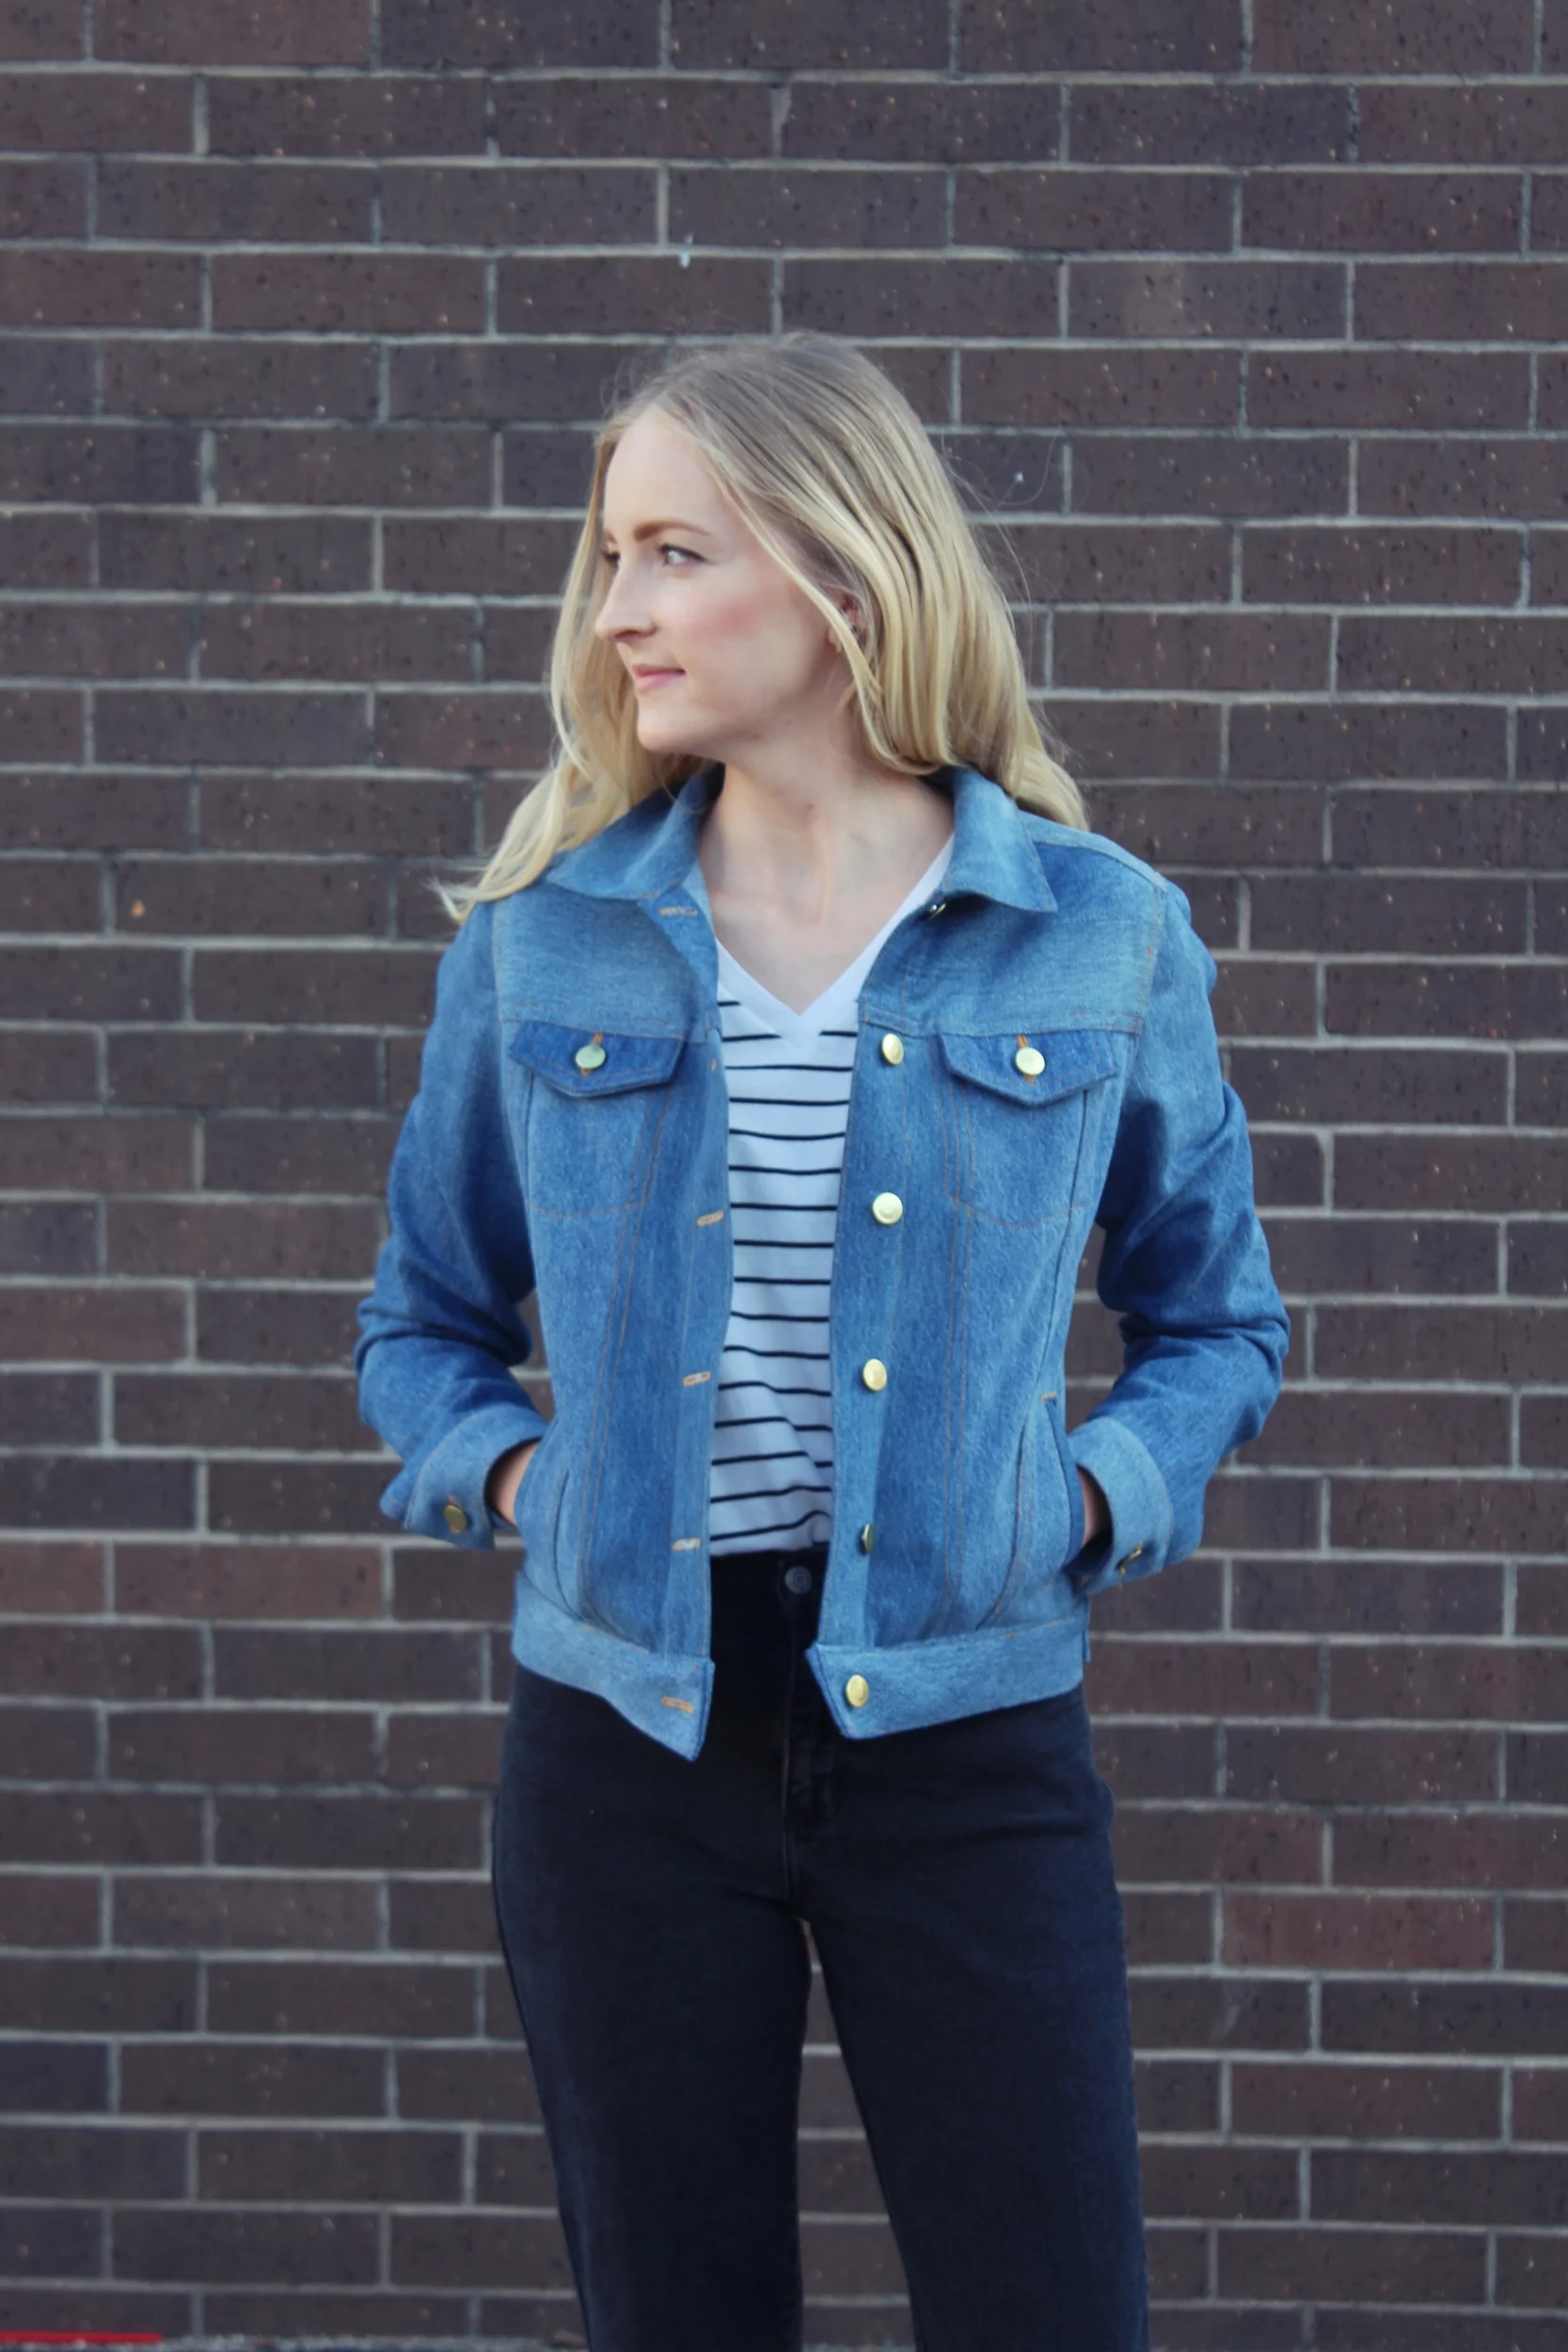
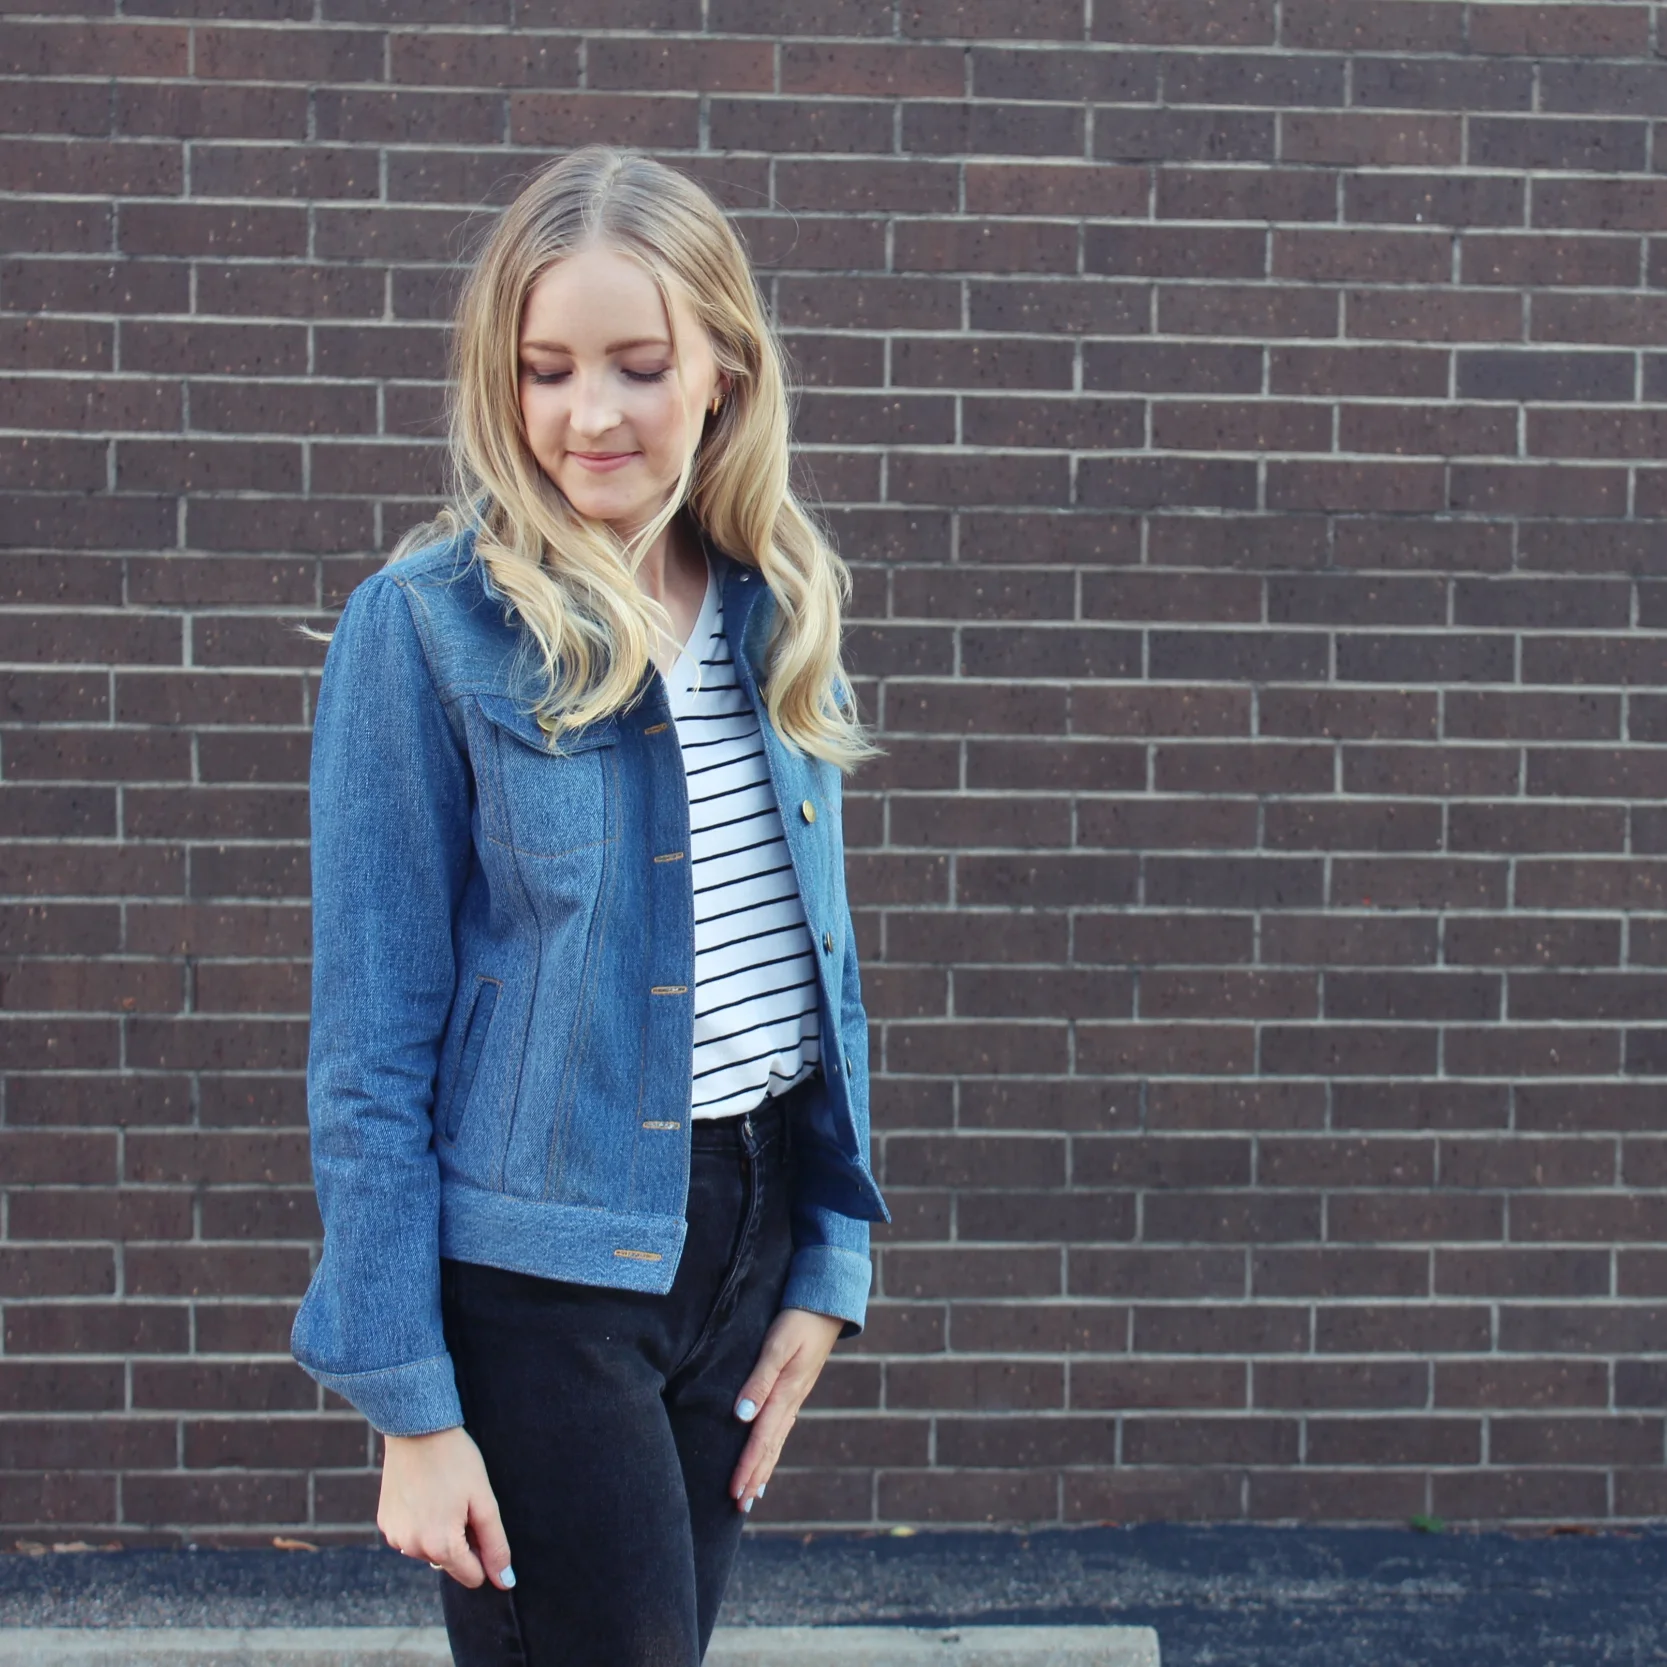
A trip to the thrift store and many hours of work later...here we have it! A jacket made entirely of old Levis found second hand! If you would have told me I would be making a jean jacket this early on in my sewing journey, I would have just laughed. I consider myself an 'advanced beginner' but tackling this jacket was SO doable. A challenge, YES. But one that taught me a lot and bumped me to what I would call an 'intermediate' sewist. :)
The Pattern: Hampton Jean Jacket by Alina Design Co
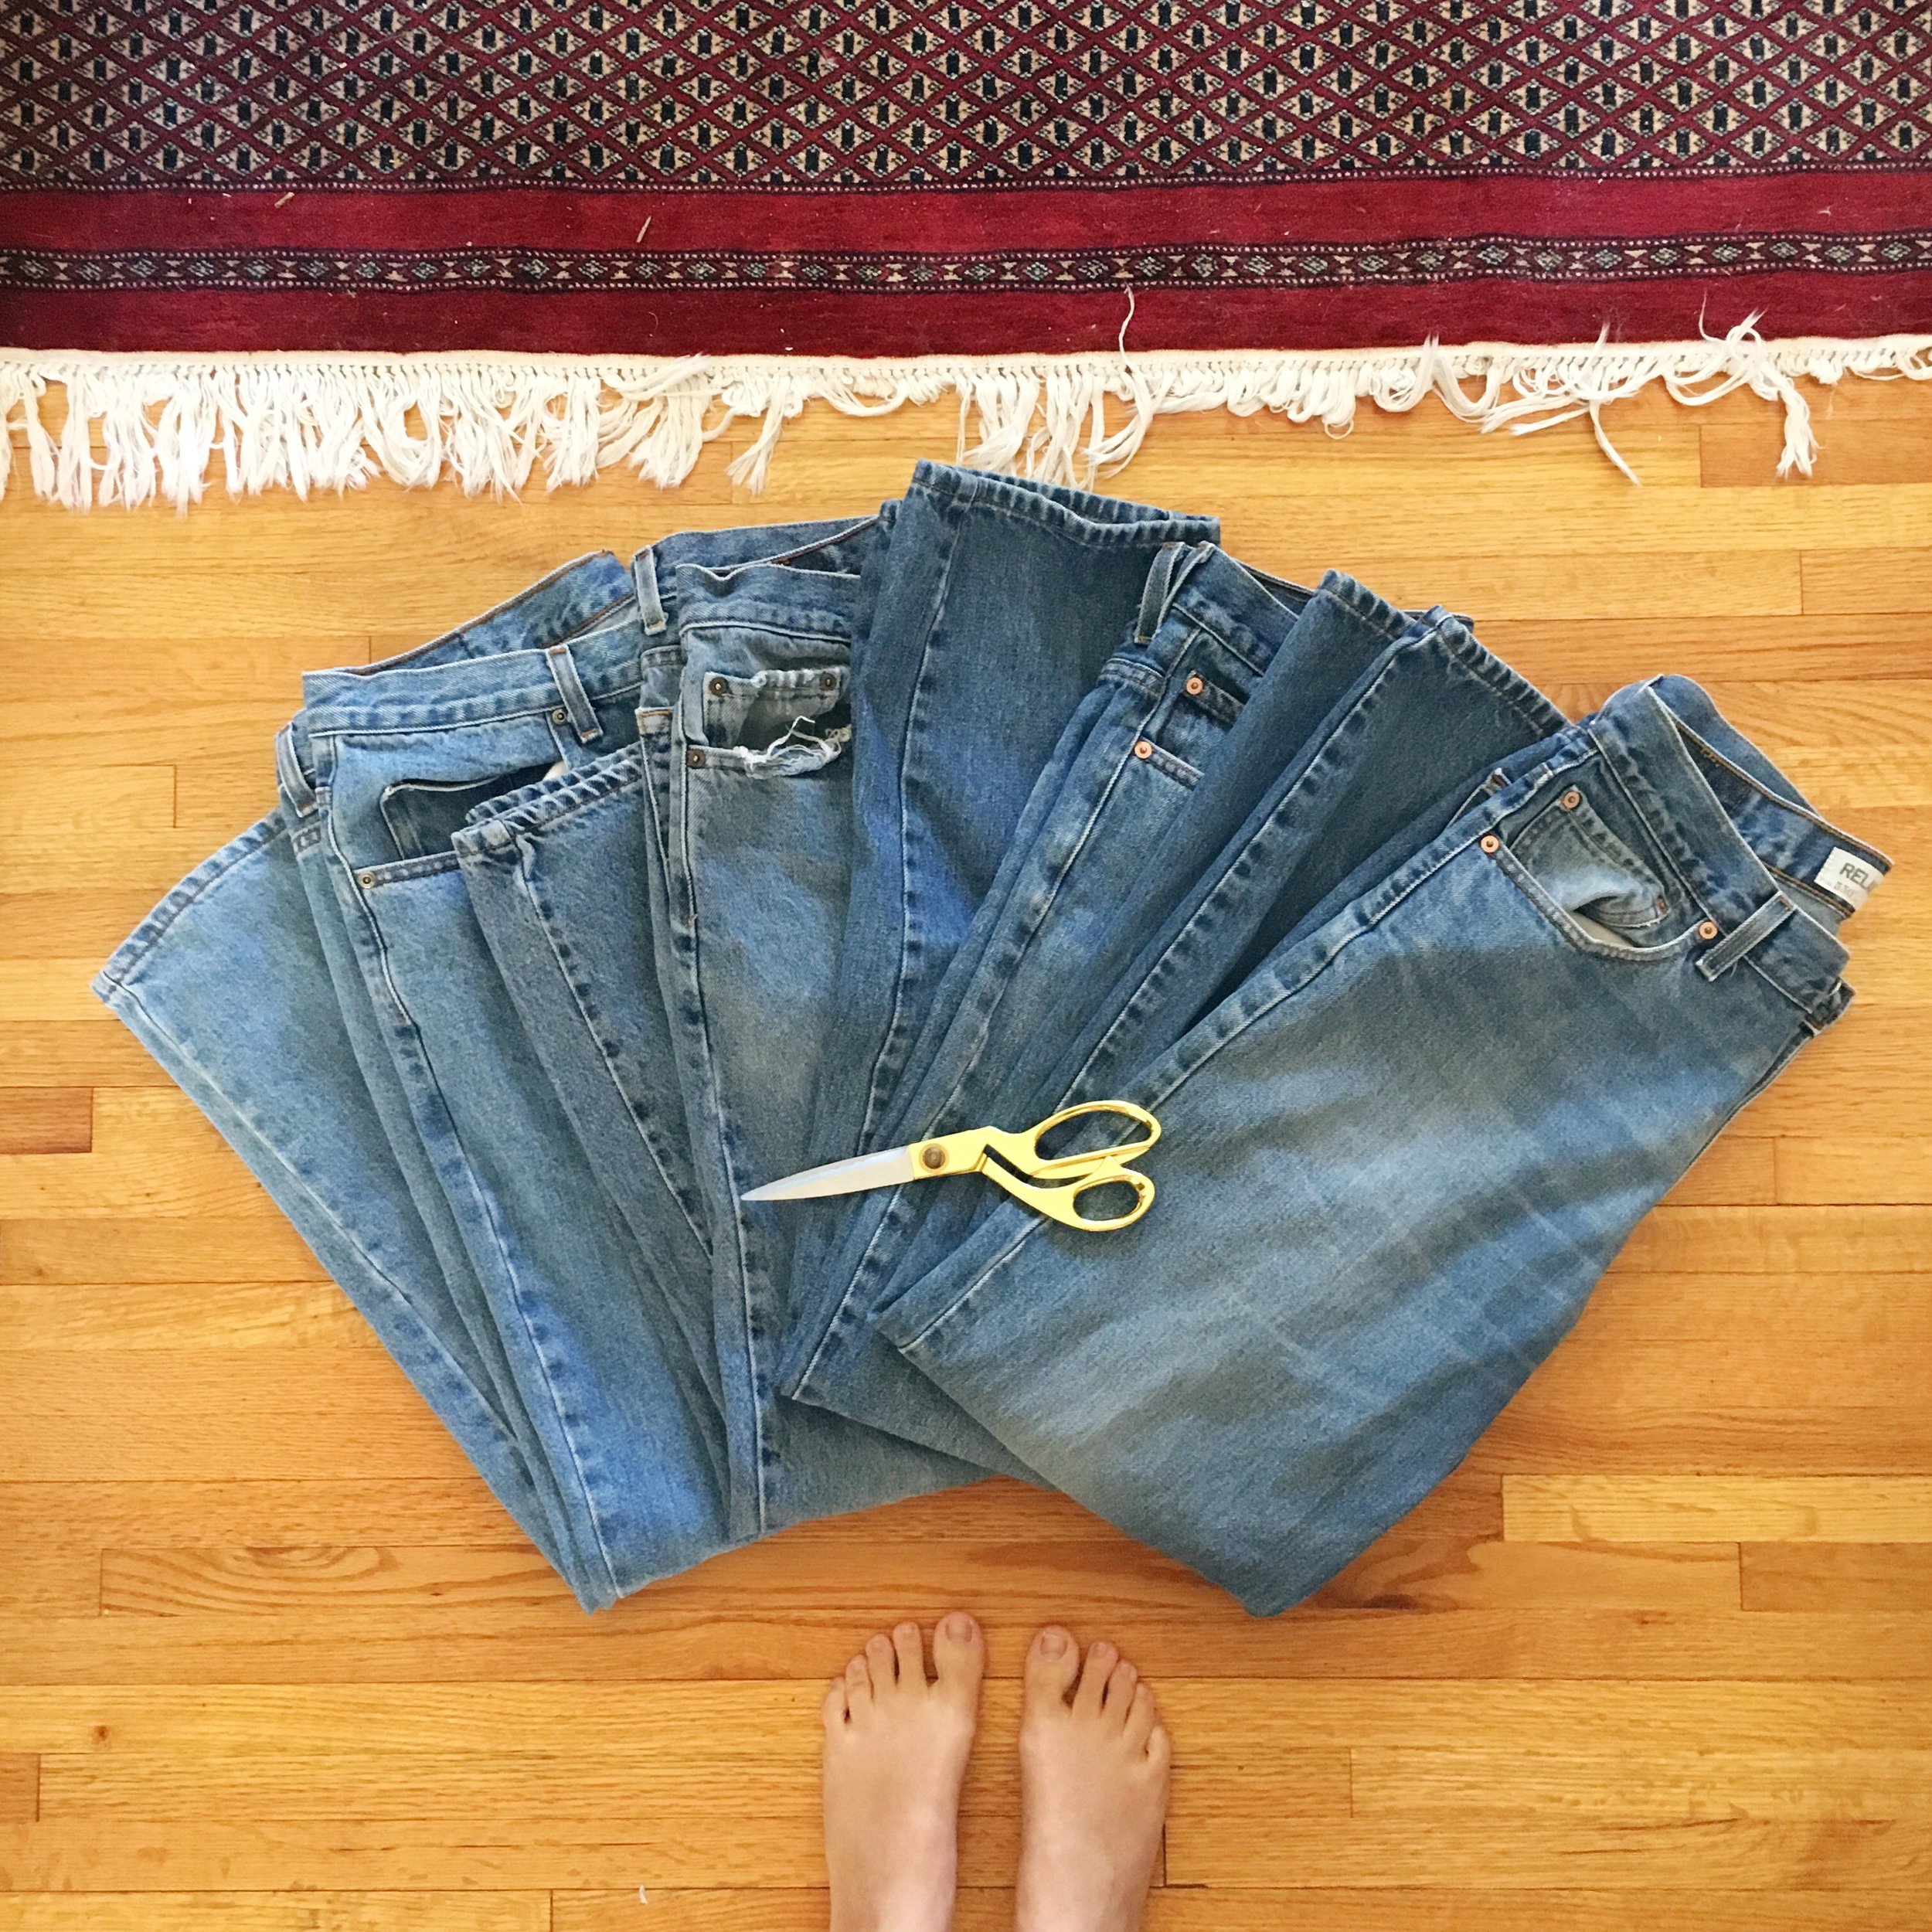
The Fabric: zero stretch denim taken from 4 pairs of second hand Levi's
The Process: When I went to the thrift store I headed straight to the men's section and started searching for several pairs of zero stretch jeans in a similar wash. I really wasn't sure how many pairs I would need, but ended up with the 4 pictured above. I could have almost squeezed the entire jacket out of 3 pairs, but ultimately I'm glad I had 4 to work with. Each pair was under $4 which means I spent less than $16 total for the denim (and I have extra leftover that I'm planning to make some Christmas gifts out of!). 2 of the pairs were nearly identical and had lots of tiger stripes at the hips and knees.
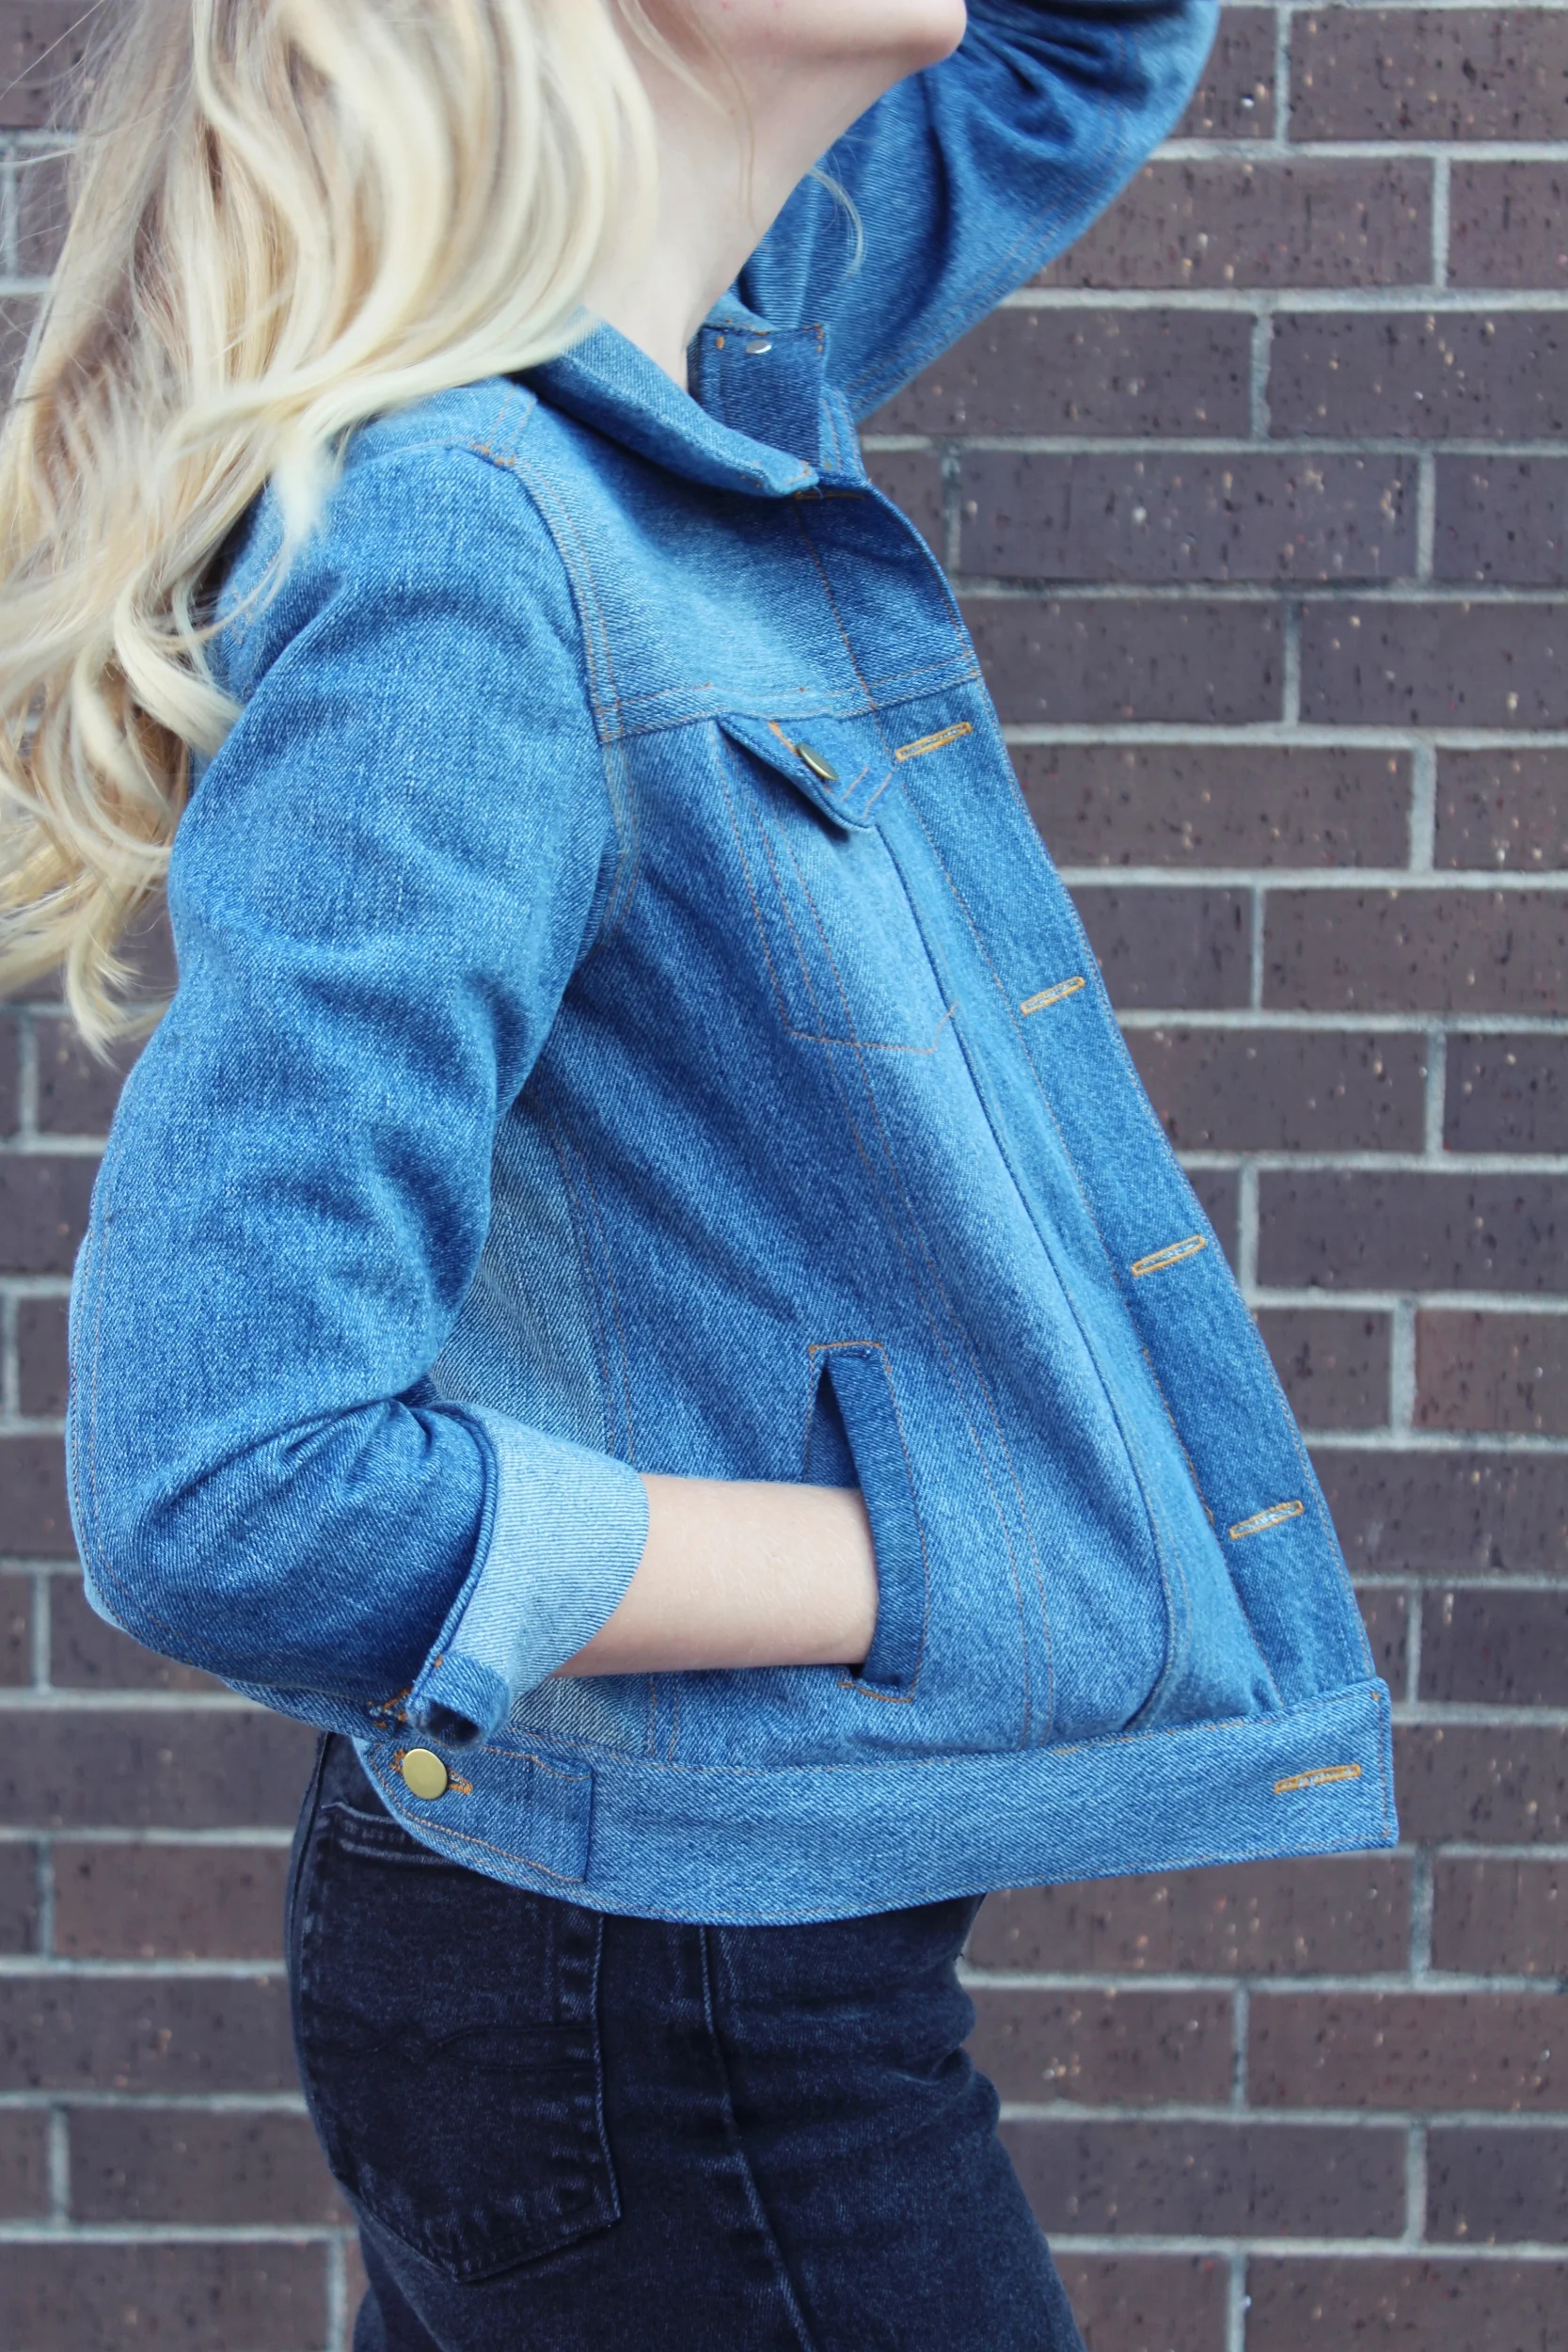
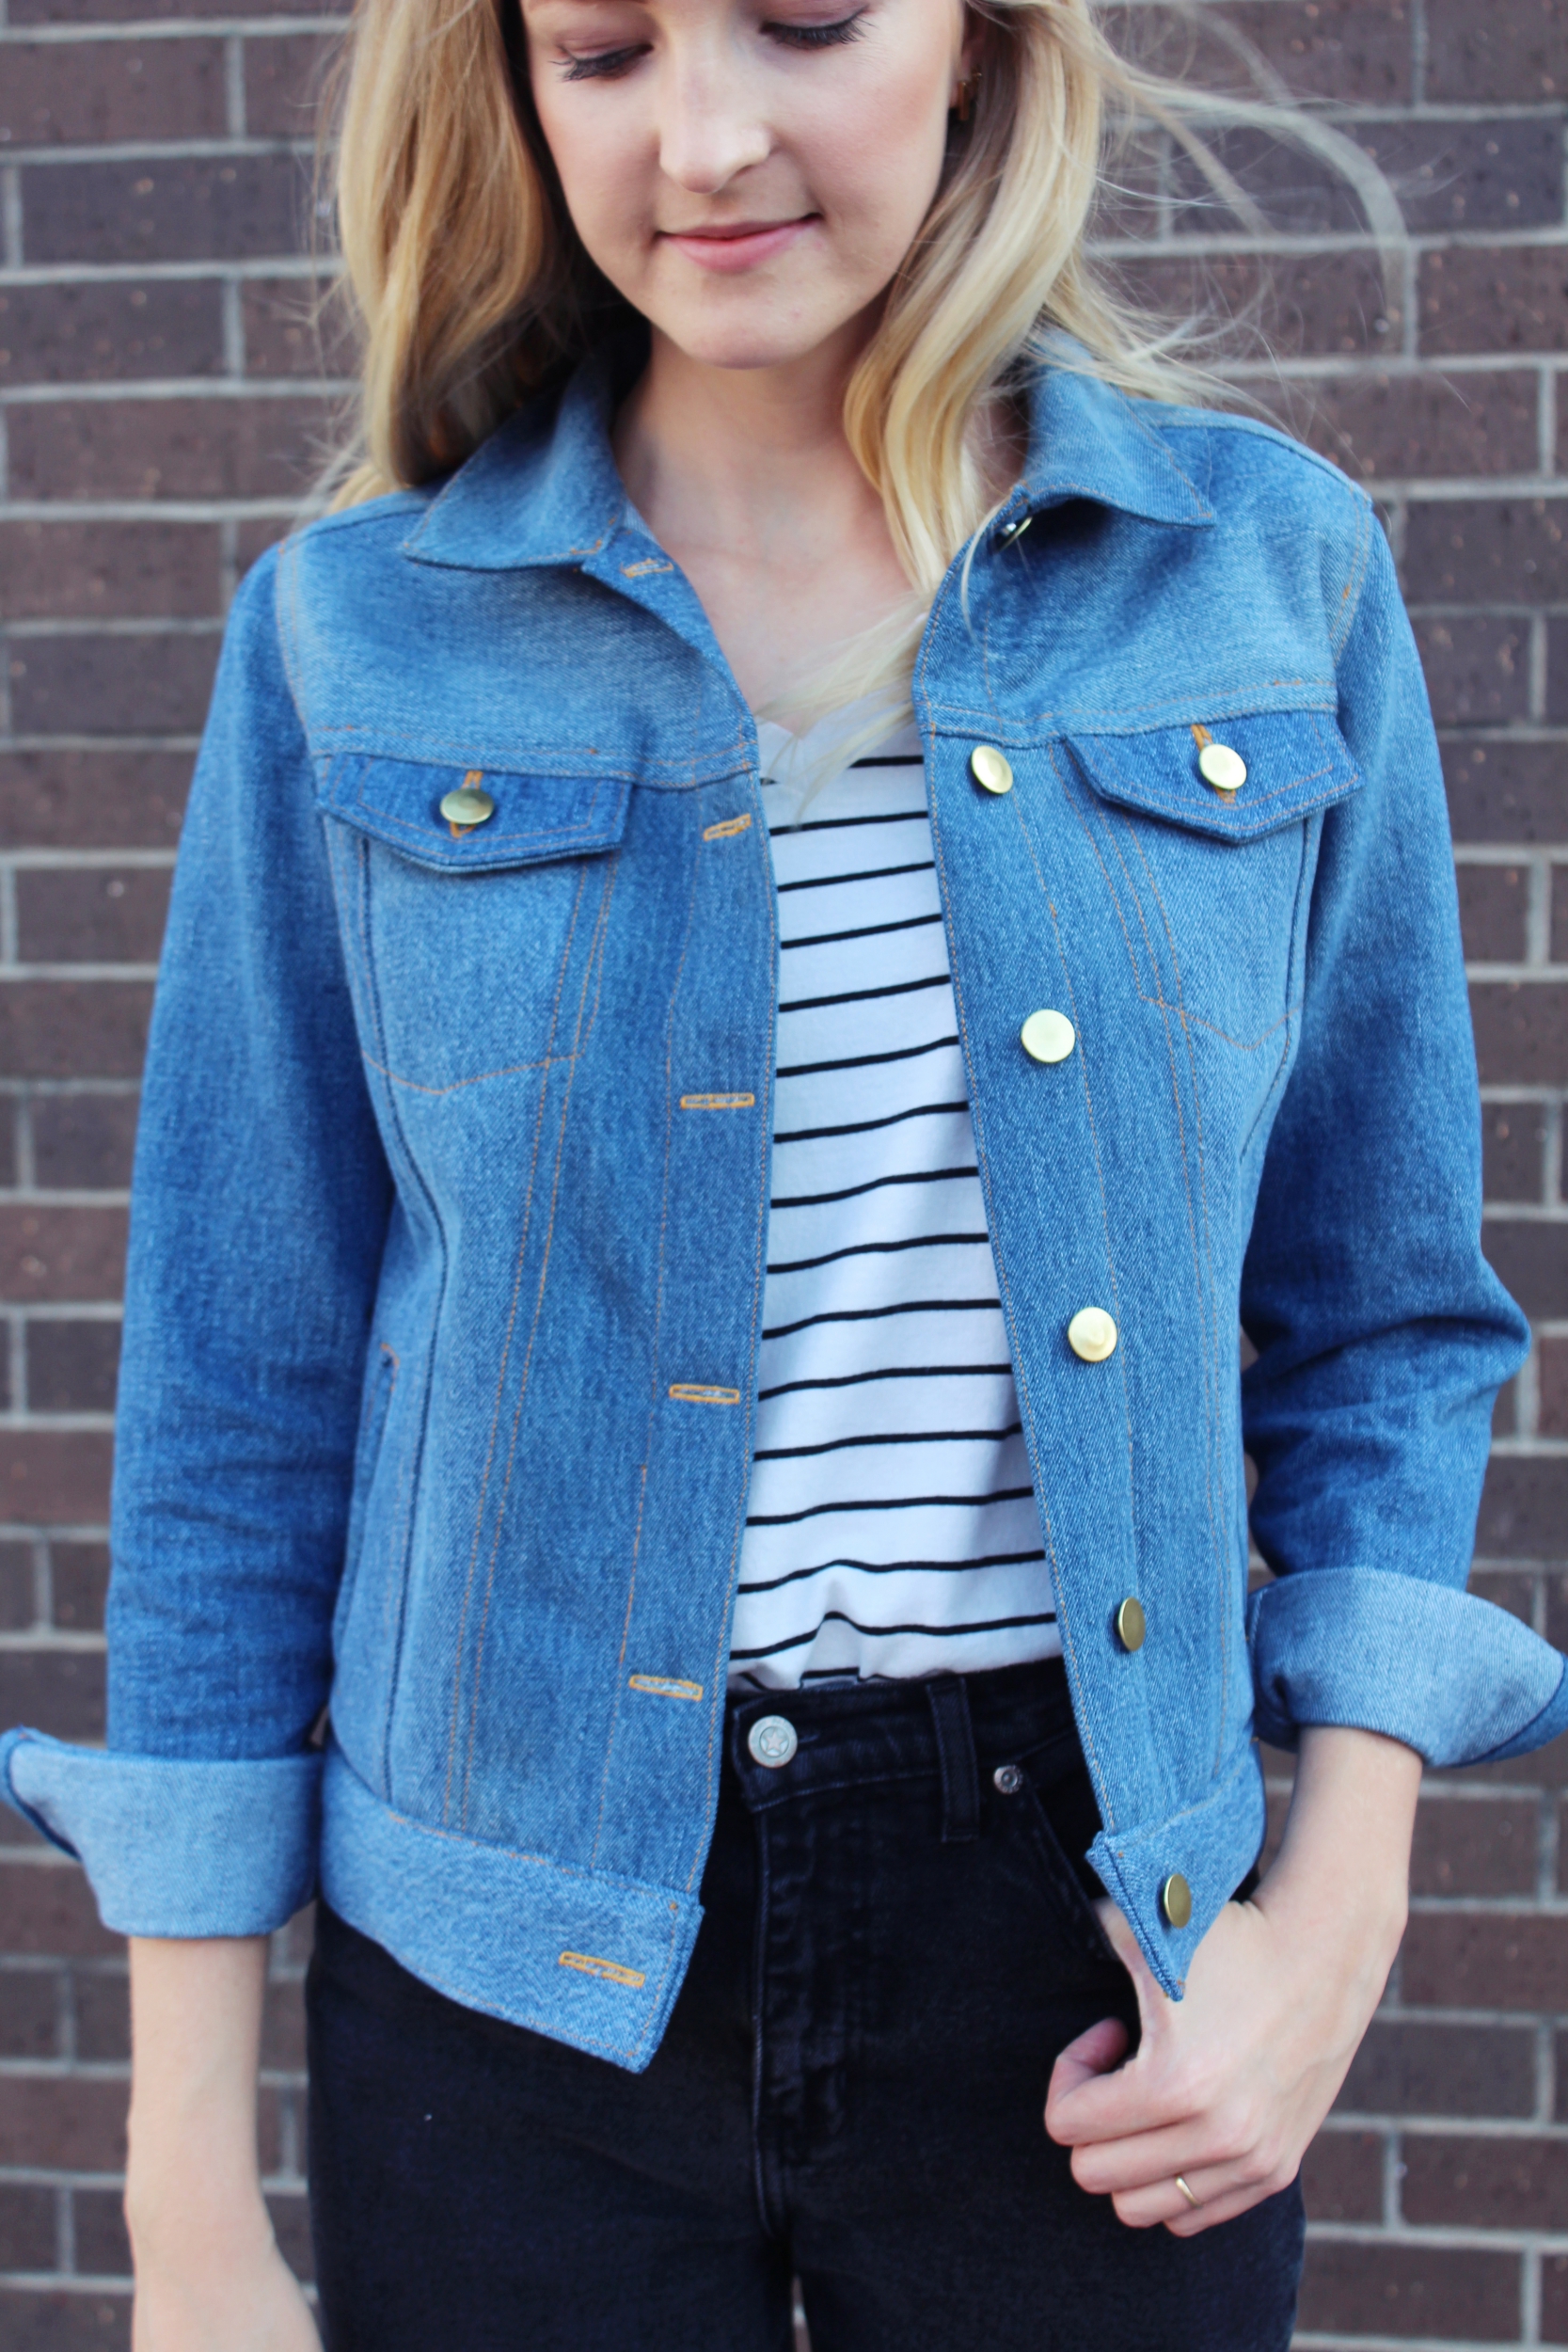
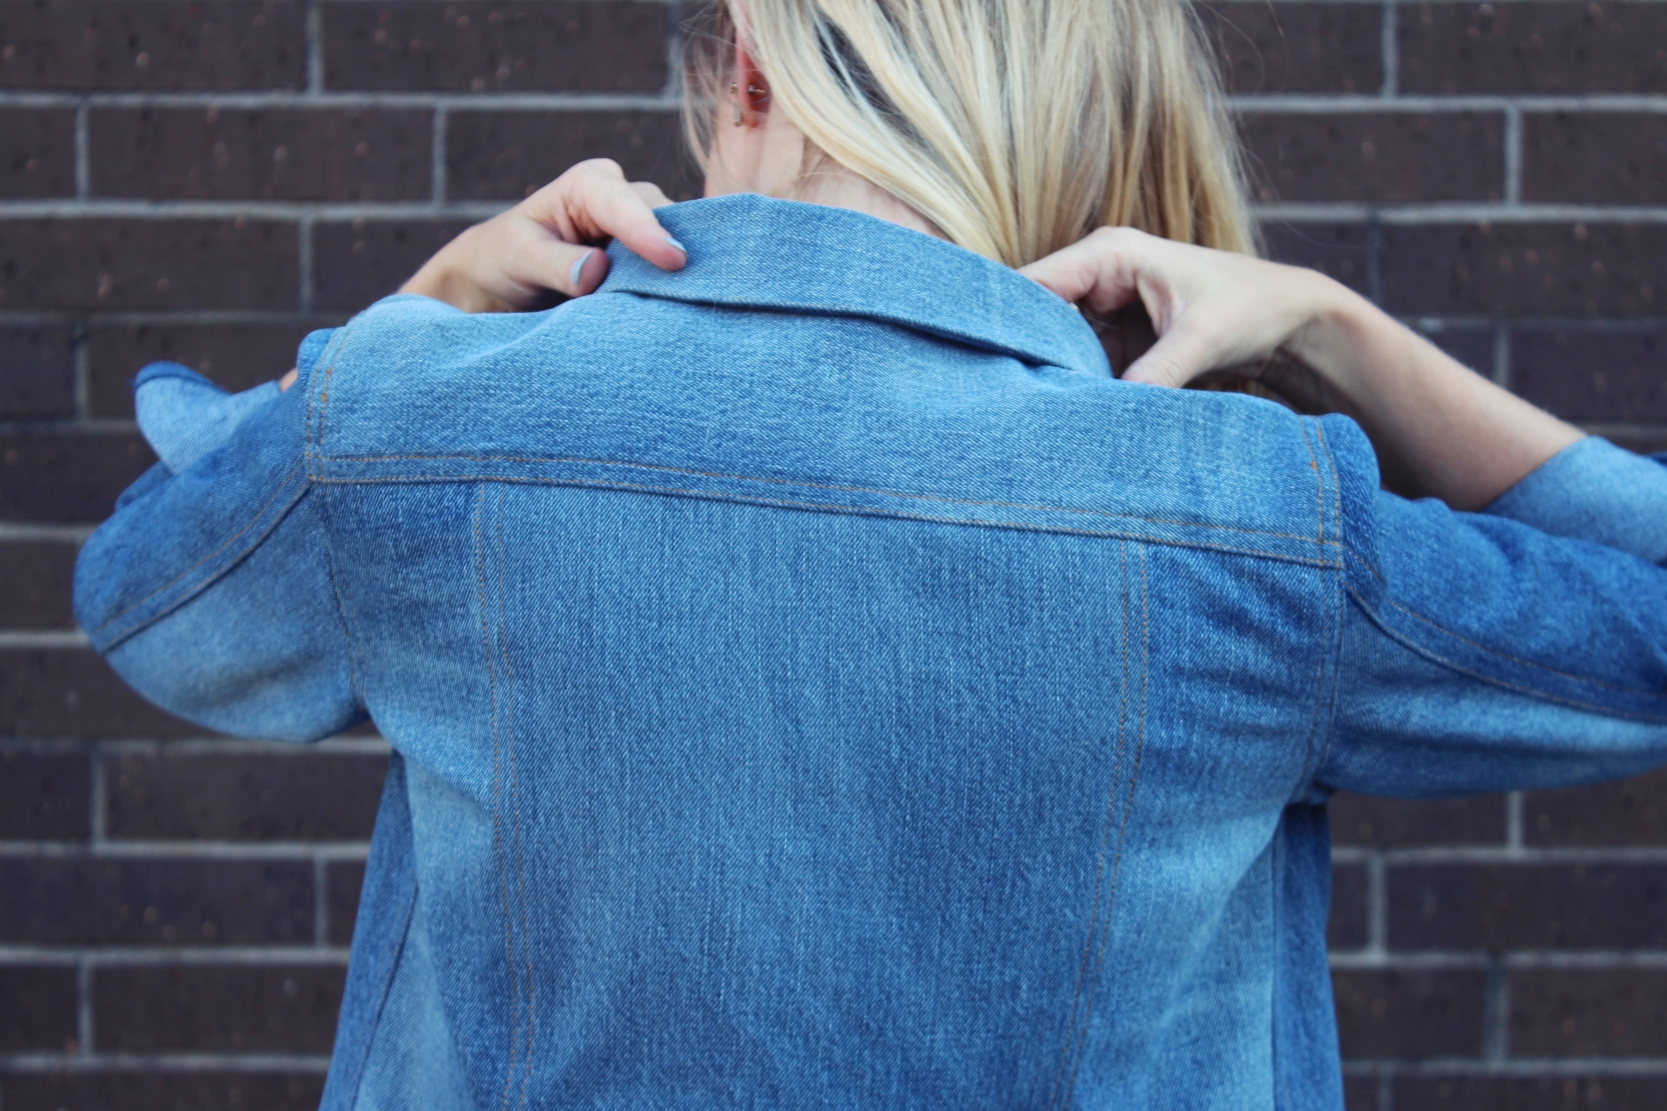
From here I came home, washed and dried the jeans, then laid them out. I cut each pair apart making sure to keep each mirrored leg piece with its mate. After cutting out and taping my pdf pattern the fun/challenging part came along. I had to decide which pieces to cut out of what part of each panel of denim. The pattern calls for lots of 'mirrored' cutting which worked out nicely because I had two legs of each pant to work with, front and back. So basically I cut each mirrored piece from the left then right leg. If you look at my jacket you can see varying colors but each panel/sleeve/band is the same on each side. This kept things symmetrical and less busy.
The only section I had to piece together was the waistband. It requires the longest amount of fabric and you can see the seam on the center back where the pieces merged. I don't think it's terribly distracting or noticeable.
I'm not going to lie, part way through the project I did message Alina and told her I thought it was looking a little 'Justin Timberlake Brittany Spears at the VMAs'. Eek. Not what I was wanting or anything I would wear. BUT I kept persevering even just to learn something along the way. I'm glad I did!
I considered over-dyeing the entire jacket to give it more congruent coloring but after it was completed, I didn't want to loose the affect of the varying shades of washes. I kind of love how it turned out really!
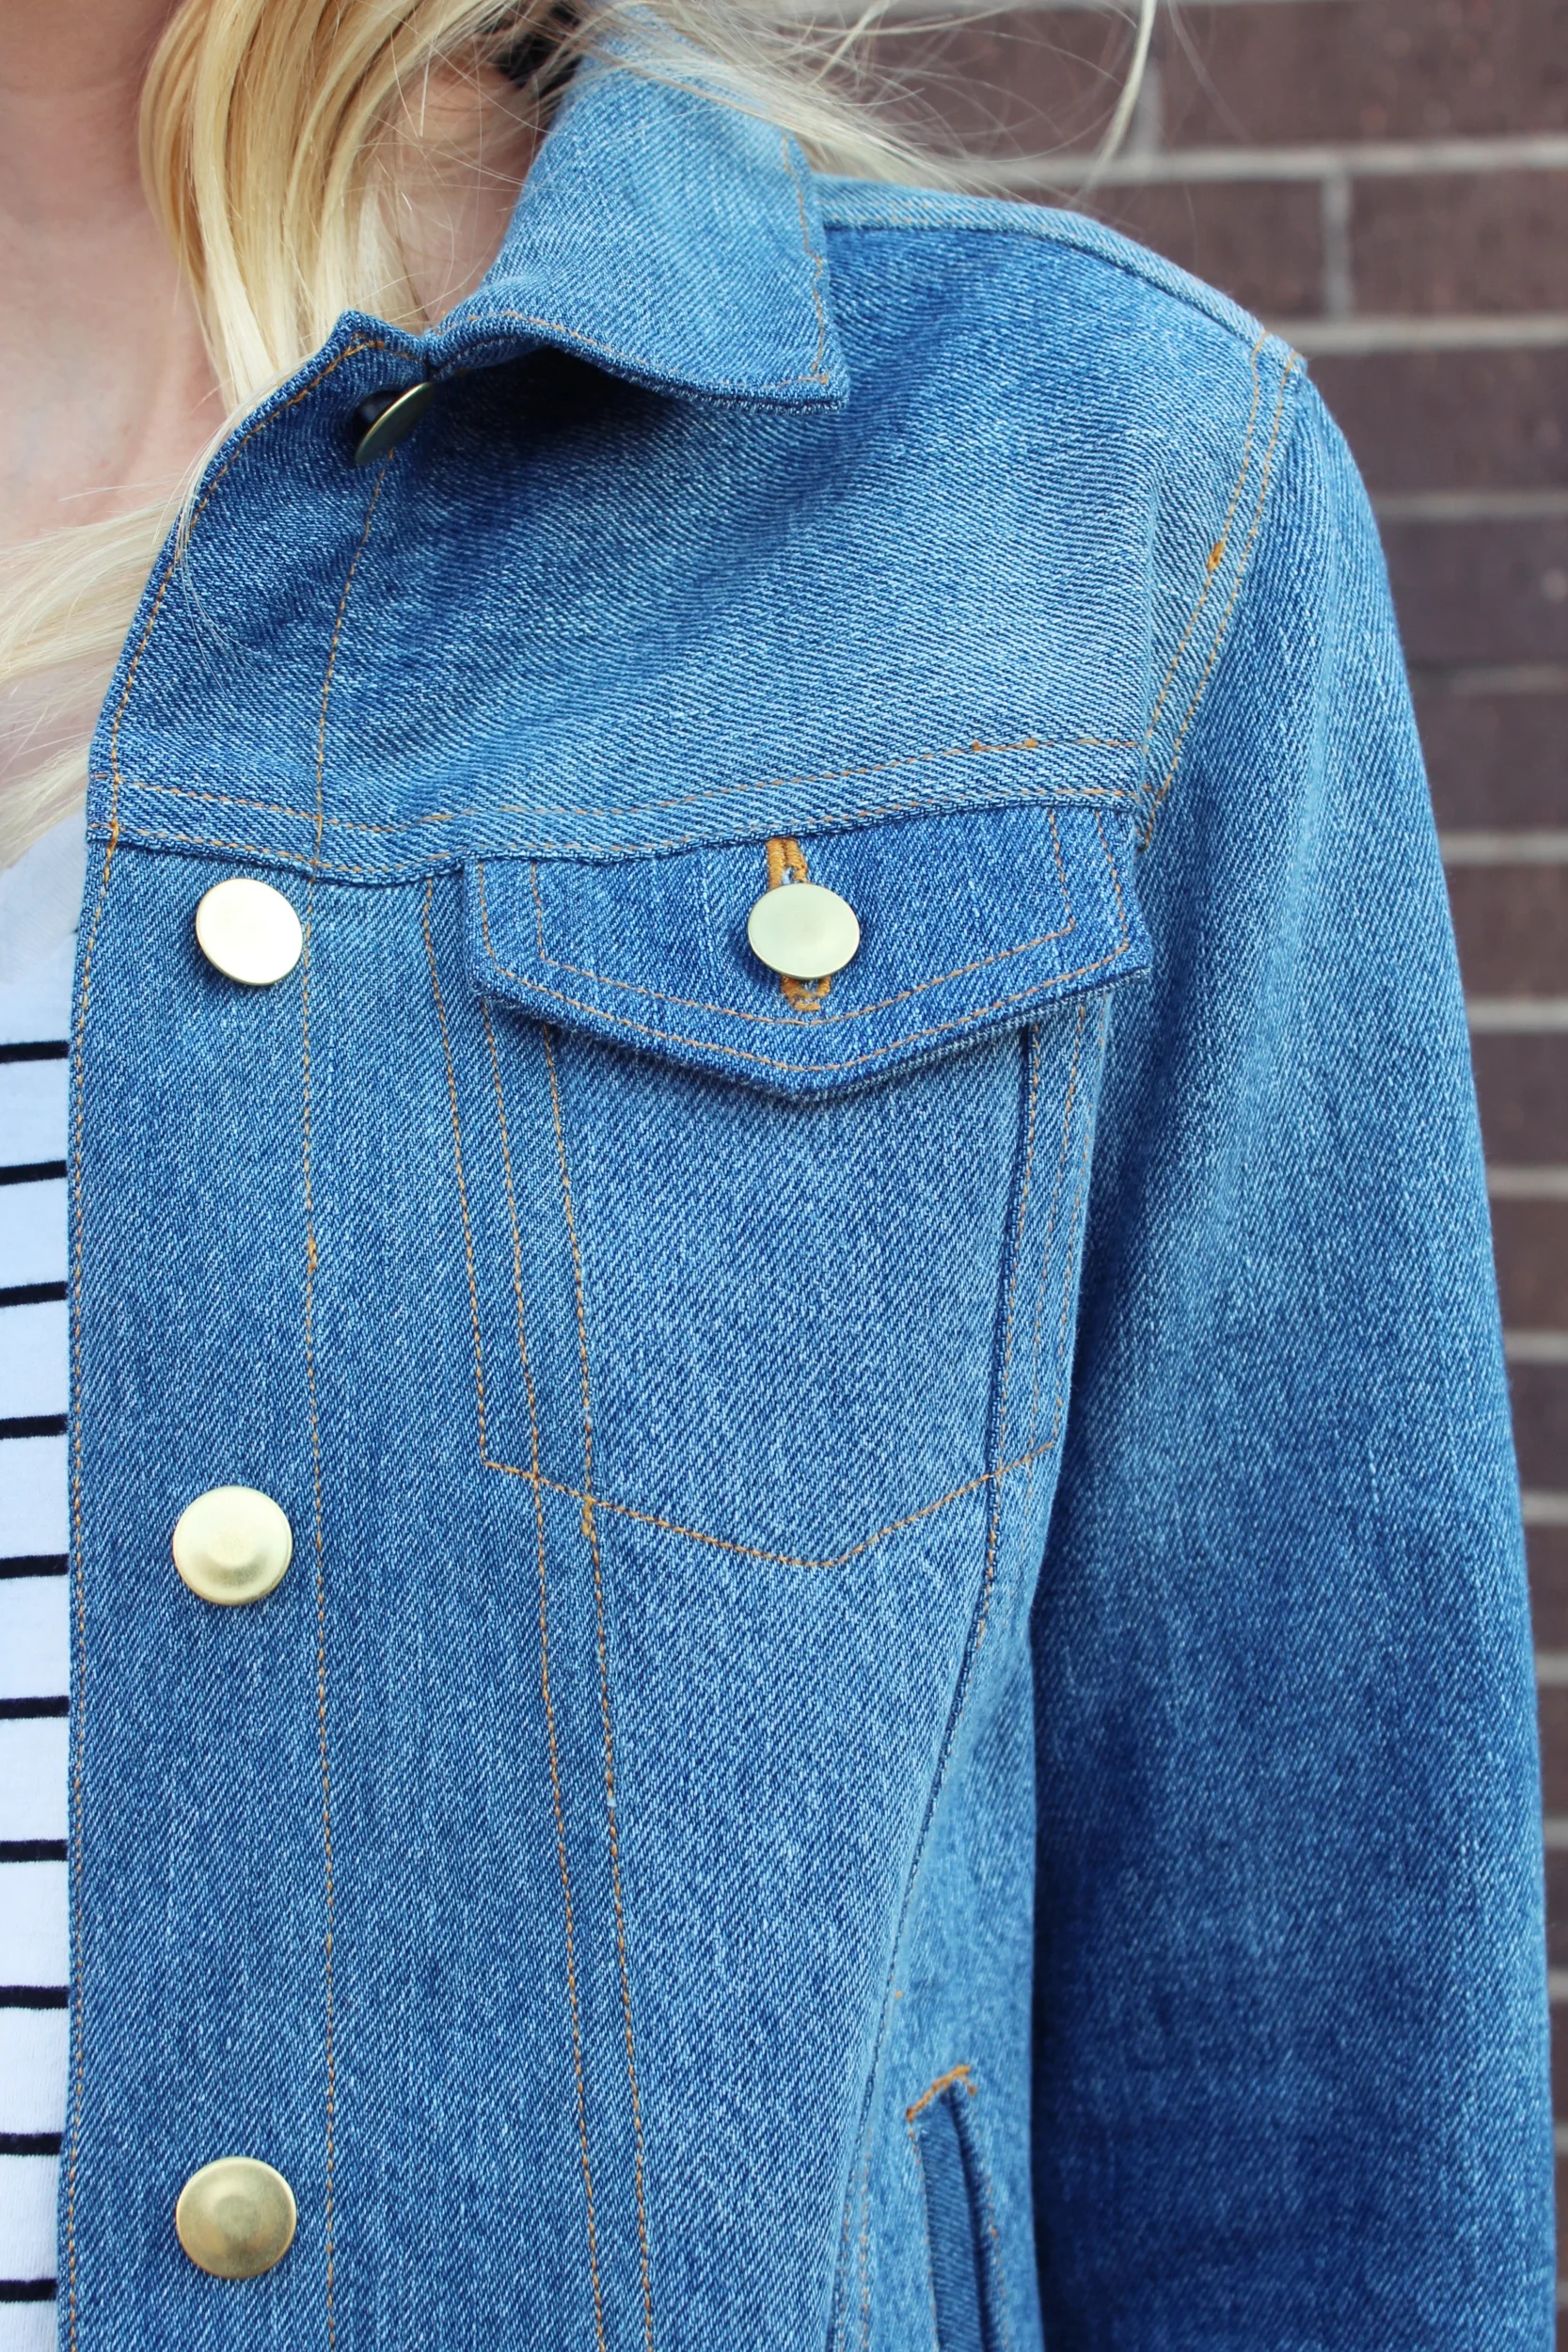
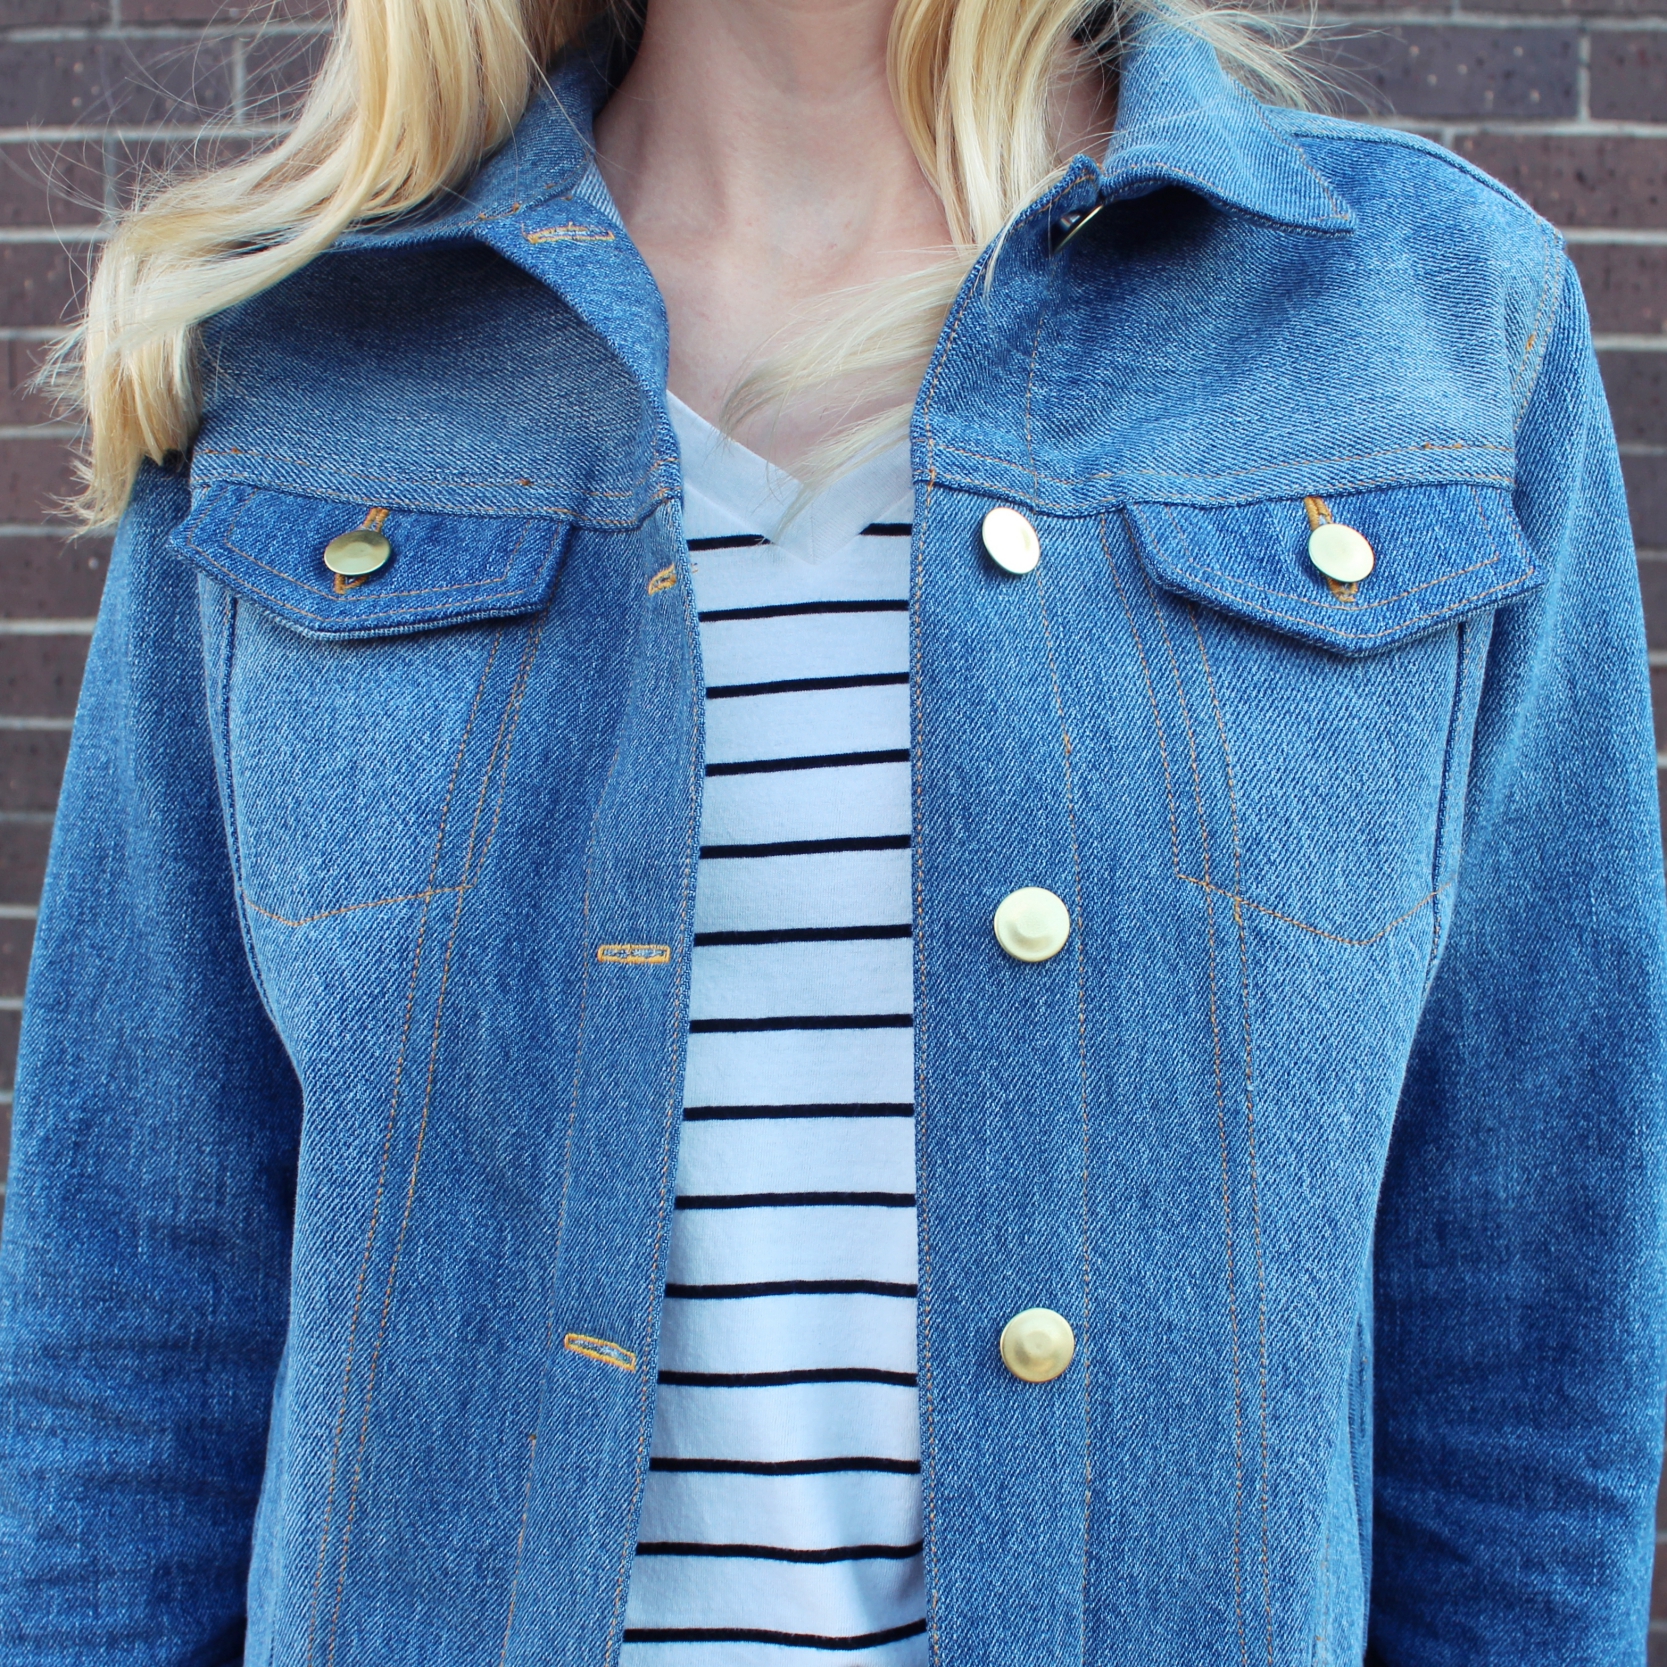
Let's talk topstitching for a minute. I had never used topstitching thread before, and I made the bold decision to go with the traditional mustard/gold color you see on classic denim wear. Haha. Haha. HAHA. Oh Star. How this project humbled you. Using this color is wonderful but it DOES show every flaw. In hind site, being that I'm an 'advanced beginner', I would have chosen a blue to hide my wobbly seams that are here and there on the jacket. To any passing stranger, I'm sure it's not noticeable, so it's not a big deal. I just had to decide to let it go. ;) My machine did struggle with the weight of the topstitching thread and, at times, the 6 layers of denim. But we fought through it and somehow came out ok! Alina suggests using regular thread if your machine is struggling, and I did do that with the button holes.
The welt pockets were another challenge, but my mother-in-law helped me through those and it was fun to see them come out. I like how the darker denim shows them off a bit on this jacket.
If you decide to make this jacket, Alina has an incredibly helpful sew-a-long that I highly suggest utilizing. It really helped me make it through.
Modifications: I made no modifications to this pattern and sewed up a straight size 2. After making a muslin, I decided to size up one size to allow room for layering this fall and winter. The fit is wonderful.
Styling & Versatility: A classic denim jacket is a no-brainer. It will last for years and years and can easily be thrown on top of anything to add warmth and style. I will definitely be wearing this a LOT this coming season!


Alina is offering a discount code for my readers (thank you, Alina!). Simply use the code HAMPTONSFORALL at checkout to receive 15% off.
Be sure to check out the amazing bloggers who have shared their jackets this week!
Helen's Closet
A Closet Handmade
Tabi Made
Straightstitch Designs
Match Makes Clothes
Nicole Merritts